Homemade Peppermint Patties Recipe
I have to admit, homemade peppermint patties hold a special place in my heart — there’s something about crafting these cool, creamy treats yourself that just feels extra rewarding. This Homemade Peppermint Patties Recipe is not only easy to make but also brings that perfect balance of sweet and refreshing mint flavor wrapped in smooth chocolate. Whether you’re looking for a festive dessert for the holidays or a fun weekend project, these patties are a total crowd-pleaser.
What I love most is how versatile this recipe is; you can customize the peppermint intensity or chocolate coating to fit your taste. Plus, making your own peppermint patties means you know exactly what’s going into them—no mysterious additives here! It’s a recipe you’ll find yourself coming back to time and again when you want a little homemade magic in your kitchen.
Ingredients You’ll Need
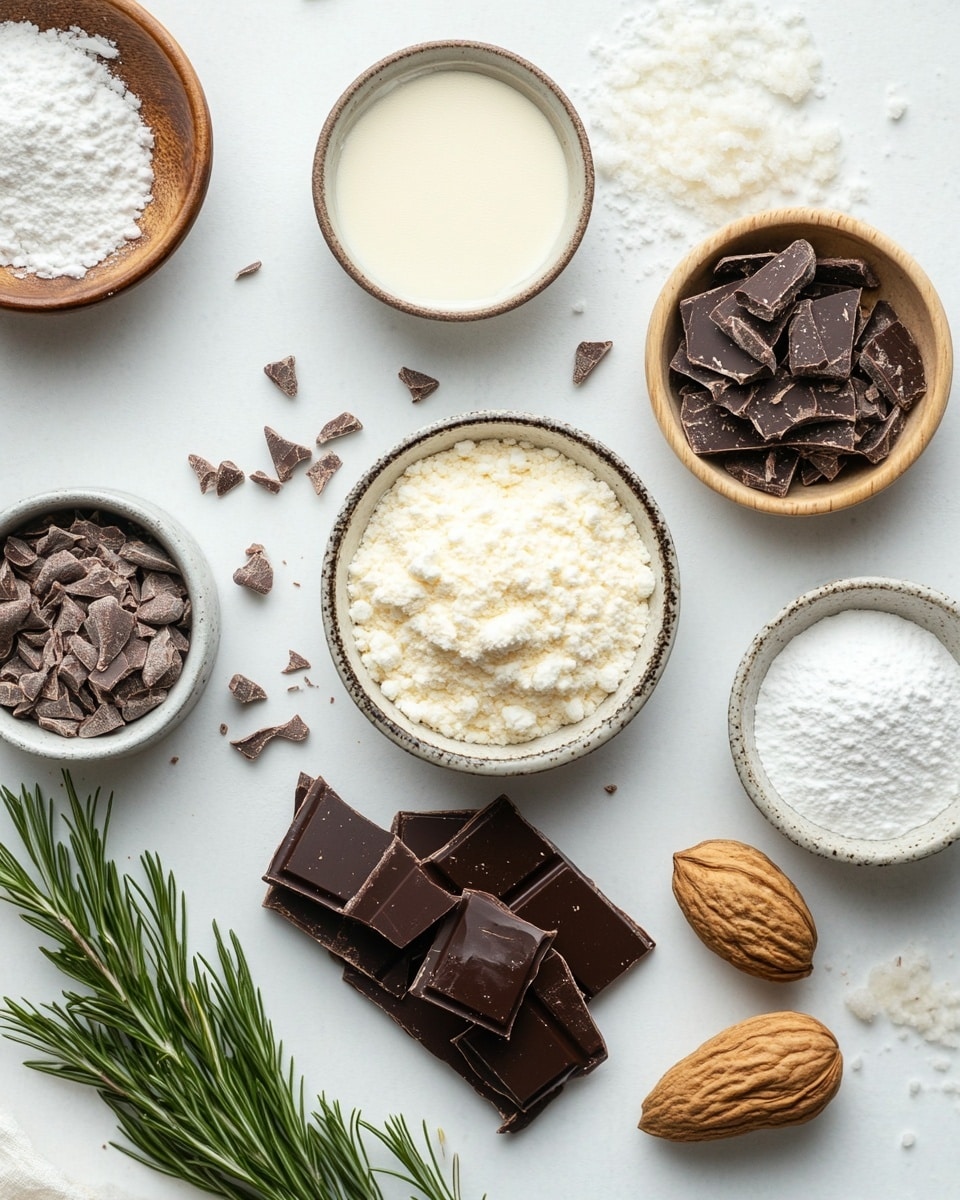
Each ingredient in this Homemade Peppermint Patties Recipe has a purpose, creating that signature soft, minty center and smooth chocolate shell. I recommend using good-quality peppermint extract and chocolate almond bark to get the best flavor and texture.
- Sweetened condensed milk: Acts as the sweet, creamy base binding the filling together perfectly without any fuss.
- Peppermint extract: The hero ingredient—fresh and strong peppermint flavor makes these patties stand out. I like to start with 1½ teaspoons but adjust if you want a punchier mint kick.
- Powdered sugar: Adds sweetness and creates the delightful, melt-in-your-mouth texture of the filling.
- Chocolate almond bark: Melts easily and sets quickly, making it ideal for coating your patties smoothly without a tempering hassle.
- Sprinkles (optional): For a little festive flair, especially around holidays or parties.
Variations
While I often stick to the classic peppermint and chocolate, there are some fun twists I’ve tried that really brighten up this Homemade Peppermint Patties Recipe. Feel free to get creative based on your preferences or dietary needs.
- Dark chocolate coating: If you like a slightly bittersweet contrast, swapping out the almond bark for dark chocolate adds depth—I personally adore this variation during colder months.
- Vegan version: Use coconut condensed milk and dairy-free chocolate to suit plant-based diets; the texture still turns out fantastic.
- Add crushed candy canes: Sprinkle some inside or on top of the chocolate for extra crunch and a boost of peppermint.
- Lemon or orange essence: For a surprising twist, mix in a few drops of citrus extract with the peppermint to create a refreshing flavor combo I’ve enjoyed sharing at summer gatherings.
How to Make Homemade Peppermint Patties Recipe
Step 1: Whip Up the Minty Filling
Start by combining the sweetened condensed milk and peppermint extract in a mixing bowl. Gradually sift in the powdered sugar, stirring continuously until the mixture forms a firm dough that doesn’t stick too much to your hands. This step is key for that creamy but solid center, so be patient and add a little more powdered sugar if it feels too sticky. I always give it a taste here to ensure the peppermint is just right.
Step 2: Shape Your Patties
Once your filling is ready, roll it into small balls about the size of a walnut, then gently flatten into little discs. If your dough feels too soft, pop it into the fridge for 10–15 minutes to firm up—this makes dipping a lot easier and less messy. Line a baking sheet with parchment paper where you’ll place your patties for the chocolate coating.
Step 3: Melt the Chocolate Almond Bark
Break the chocolate almond bark into pieces and melt gently—either in short bursts in the microwave stirring in between or in a double boiler on the stovetop. Keep an eye on it so it doesn’t burn; smooth melted chocolate is your best friend for that beautiful shiny coating.
Step 4: Dip and Decorate
Using a fork or dipping tool, coat each peppermint patty in the melted chocolate, allowing excess to drip off before placing it back on the parchment-lined tray. This part is where patience pays off—you want even coverage without pooling chocolate. Before the chocolate sets, sprinkle your optional decorations for a festive touch.
Step 5: Chill and Set
Pop the tray into the refrigerator for at least 30 minutes to let the chocolate harden completely. Once set, your homemade peppermint patties are ready to enjoy or gift! I usually save some to nibble on right away and stash the rest in an airtight container.
How to Serve Homemade Peppermint Patties Recipe
Garnishes
I often like to get creative with a sprinkle of crushed peppermint candies or a light dusting of cocoa powder on top before the chocolate sets. It makes the patties look extra inviting and adds a little texture contrast, which I think really elevates the experience.
Side Dishes
These peppermint patties are perfect as a sweet finish after a rich dinner. I sometimes pair them with a hot cup of coffee or peppermint tea—something simple that complements the mint without overpowering it. They also make delightful treats in holiday cookie platters or gift boxes.
Creative Ways to Present
For special occasions, I like to place my homemade peppermint patties in pretty paper candy cups arranged on a festive platter. Wrapping individual patties in colorful cellophane tied with ribbon turns them into charming homemade gifts. You could also layer them with crumbled peppermint bark for a stunning dessert table display.
Make Ahead and Storage
Storing Leftovers
I store leftover peppermint patties in an airtight container in the fridge, which keeps them fresh for up to two weeks. Make sure they’re separated by parchment paper so they don’t stick together. It’s always a nice surprise to pull a few out later when you’re craving a cool, minty treat.
Freezing
This recipe freezes beautifully! I wrap each peppermint patty individually in plastic wrap then place them in a freezer bag. They can stay frozen for up to three months, and when you’re ready, just thaw them in the fridge overnight to maintain their texture and flavor.
Reheating
Since peppermint patties are best served cold, I don’t recommend reheating them. Instead, just allow frozen patties to thaw slowly in the fridge to preserve their creamy center and crisp chocolate shell. They’ll taste just as delightful as when freshly made.
FAQs
-
Can I use regular chocolate instead of almond bark for this Homemade Peppermint Patties Recipe?
Absolutely! You can use regular chocolate like semi-sweet or milk chocolate, but keep in mind that almond bark is designed to melt smoothly without tempering, making dipping easier. If you use regular chocolate, you might want to temper it first to get that glossy finish and prevent it from blooming.
-
How strong should the peppermint flavor be?
I recommend starting with 1½ teaspoons of peppermint extract as stated in the recipe, but feel free to adjust to your taste. Some people like a subtle hint, while others prefer a bold mint kick. Just be careful not to overdo it, as too much peppermint can become overpowering or even bitter.
-
What’s the best way to prevent patties from sticking together when storing?
Separating each patty with a small square of parchment or wax paper is the best way to keep them from sticking. Store them in an airtight container in the fridge, and if stacking is necessary, make sure each layer has a paper separator.
-
Can I make the filling ahead of time?
Yes, you can prepare the peppermint filling a day in advance. Just cover it tightly and keep it refrigerated. When you’re ready to assemble, let it sit at room temperature for a few minutes to soften slightly for easier shaping.
-
Are peppermint patties gluten-free?
Most basic Homemade Peppermint Patties Recipes like this one are naturally gluten-free, as they contain no flour or gluten-containing ingredients. However, always double-check your peppermint extract and chocolate for any added ingredients if you have dietary restrictions.
Final Thoughts
Making this Homemade Peppermint Patties Recipe has become one of my favorite kitchen rituals—you get to enjoy a classic treat that tastes like it came from a candy shop but with none of the mystery ingredients. I hope you find as much joy in crafting and sharing these minty delights as I do. Give it a try, experiment a little, and let your loved ones enjoy something truly special made with your hands.
Print
Homemade Peppermint Patties Recipe
- Prep Time: 20 minutes
- Cook Time: 15 minutes
- Total Time: 35 minutes
- Yield: About 24 peppermint patties 1x
- Category: Candy
- Method: No-Cook
- Cuisine: American
Description
These homemade peppermint patties are a festive and delicious treat combining a creamy peppermint filling with a rich chocolate coating. Easy to make and perfect for holiday celebrations, these candies offer a refreshing peppermint flavor wrapped in smooth chocolate and can be customized with sprinkles for added color and texture.
Ingredients
Filling
- ¾ cup sweetened condensed milk
- 1½ teaspoons peppermint extract
- 4 cups powdered sugar
Coating
- 1 pound chocolate almond bark
- Sprinkles (optional)
Instructions
- Prepare the Peppermint Filling: In a mixing bowl, combine the sweetened condensed milk and peppermint extract until well mixed. Gradually add the powdered sugar, mixing continuously until the mixture forms a stiff dough-like consistency that holds together when pressed.
- Shape the Patties: Roll the peppermint mixture out onto a surface dusted with powdered sugar to prevent sticking. Aim for about ¼-inch thickness. Using a small round cookie cutter or a glass, cut out circular patties and place them on a parchment-lined baking sheet. Chill in the refrigerator for approximately 20-30 minutes until firm.
- Melt the Chocolate: Break the chocolate almond bark into small pieces and melt gently using a double boiler or in the microwave in short bursts, stirring frequently to avoid burning. The chocolate should be smooth and fully melted.
- Coat the Patties: Remove the chilled peppermint patties from the refrigerator. Using a fork or dipping tool, dip each patty into the melted chocolate, ensuring it is fully covered. Allow excess chocolate to drip off before placing the coated patties back onto the parchment paper. If desired, decorate with sprinkles while the chocolate is still wet.
- Set the Chocolate: Let the chocolate-coated peppermint patties set at room temperature or place them in the refrigerator for about 15-20 minutes until the chocolate hardens.
- Store and Serve: Store the peppermint patties in an airtight container in a cool place or refrigerated until ready to serve. Enjoy these festive treats as a delightful homemade candy gift or holiday snack.
Notes
- Ensure the peppermint mixture is firm enough to hold shape before cutting and chilling.
- Use a non-stick surface or parchment paper to prevent sticking when rolling out the peppermint dough.
- Chocolate almond bark melts smoothly and sets quickly, making it ideal for coating candies.
- Sprinkles are optional but add a festive touch.
- Store peppermint patties in a cool, dry place to avoid melting or softening.
Keywords: peppermint patties, homemade candy, peppermint candy, chocolate peppermint, holiday treats