Homemade Apple Cider Recipe
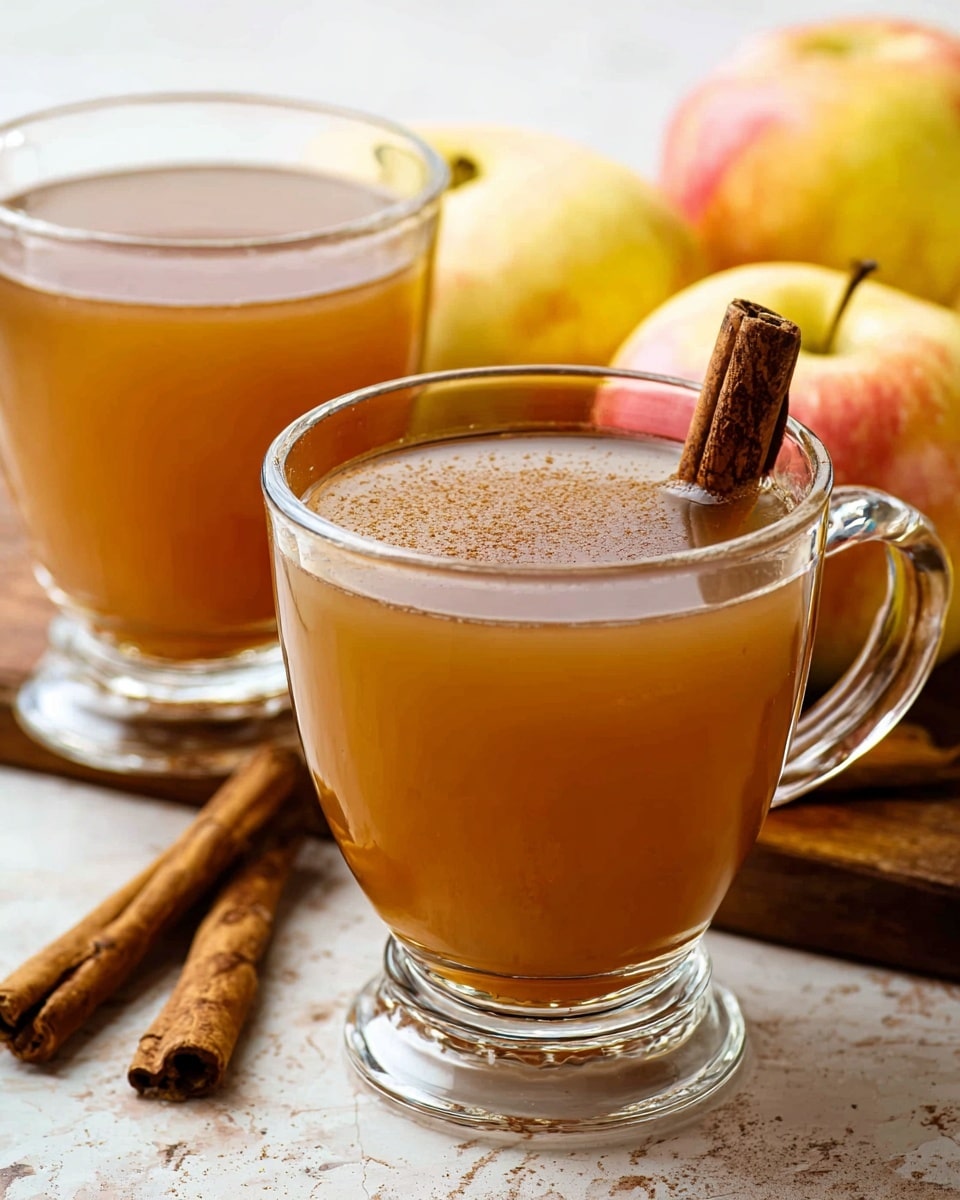
There’s just something about a warm mug of apple cider that instantly wraps me in cozy vibes, especially as the leaves start to turn and the air gets crisp. This Homemade Apple Cider Recipe is my go-to when I want that perfect balance of sweet, spice, and downright comforting flavor without any of the preservatives you find in store-bought versions. What really makes this recipe special is how simple it is—just a handful of ingredients, and you get a batch of cider that fills your home with that magical, inviting aroma.
Whether it’s for chilly weekend mornings, holiday gatherings, or just a quiet night in with a good book, this Homemade Apple Cider Recipe hits the spot every time. Plus, it’s flexible enough for you to tweak according to your mood or what you have on hand. I’m excited to share it with you because once you make it, you’ll never want to go back to the powdered mixes or pre-made cans.
Ingredients You’ll Need
Each ingredient in this recipe plays a role in layering depth and warmth into your cider. Picking fresh, ripe apples is your best bet for a naturally sweet cider, and the spices—cinnamon and allspice—bring in that classic autumn punch that we all crave.
- Apples: Using a mix of sweet and tart apples can give your cider a more complex flavor; I usually mix Granny Smith with Fuji or Honeycrisp.
- Light brown sugar: Adds just the right amount of sweetness and a subtle molasses note that rounds the flavors beautifully.
- Cinnamon sticks or ground cinnamon: I love the real cinnamon sticks because they infuse a deeper, richer flavor as they simmer, but ground works well too if you’re short on time.
- Ground allspice: This tiny spice packs a big punch with hints of clove, cinnamon, and nutmeg that complement the cinnamon perfectly.
Variations
This Homemade Apple Cider Recipe is super versatile, so don’t hesitate to make it your own. I love experimenting with added spices or mixing in extra fruit flavors depending on the season or what’s in my pantry.
- Spiced Citrus: Adding orange slices or a splash of fresh lemon juice adds a bright, fresh twist that wakes up the flavor.
- Alcoholic Version: Pour in a bit of rum, bourbon, or brandy right before serving for a cozy adult beverage.
- Honey instead of sugar: For a natural sweetness that’s a bit floral—just reduce other sweeteners if you do this.
- Extra warming spices: Try adding star anise or cloves for a more complex spice profile.
How to Make Homemade Apple Cider Recipe
Step 1: Prep Your Apples
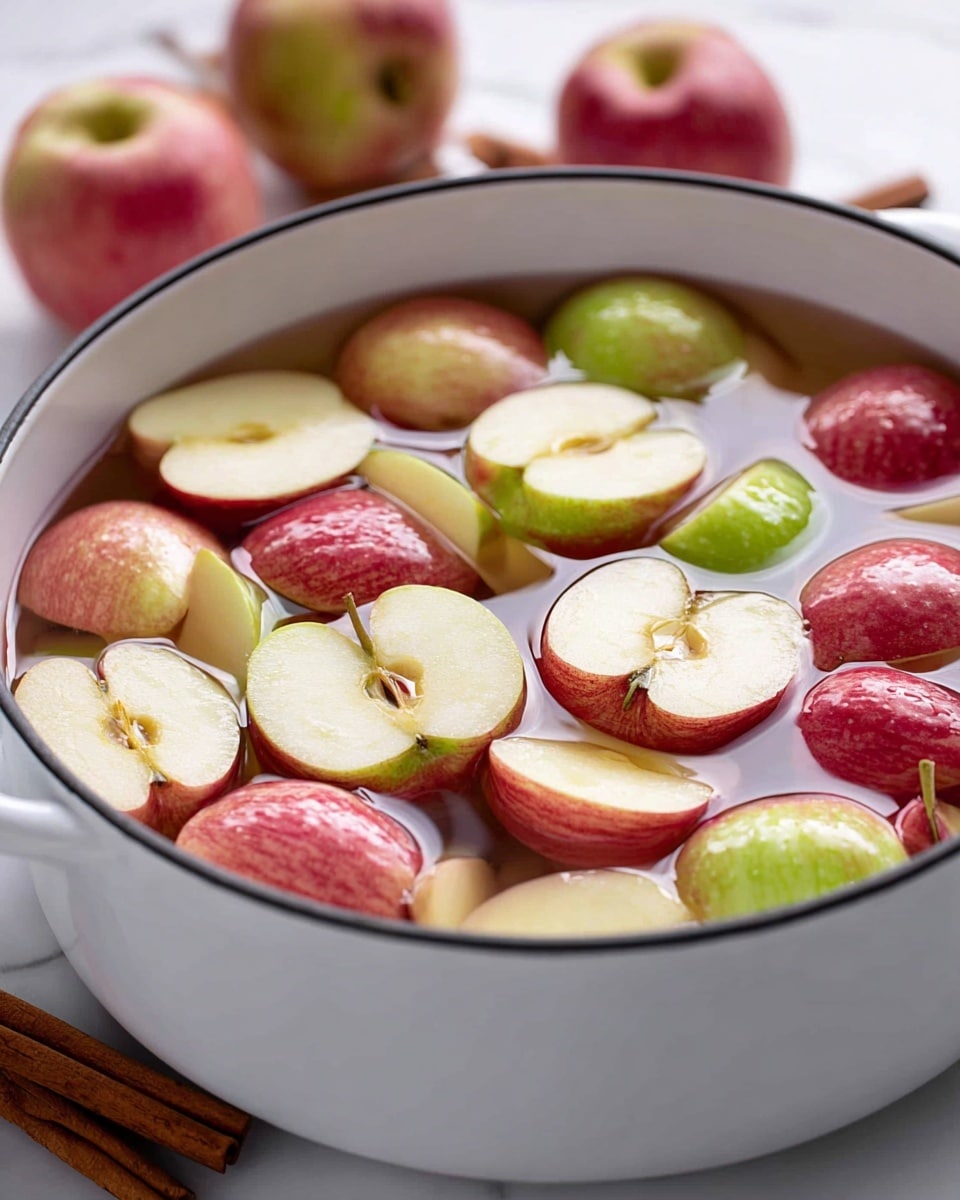
Start by washing your apples thoroughly, then quarter them—no need to peel or core since we’re straining later. This keeps the prep simple and lets the natural apple flavors shine through, along with some pectin that adds body to your cider. If you want, you can toss a few apple slices in to check the flavor as you simmer.
Step 2: Combine Ingredients in a Large Pot
Place your quartered apples, brown sugar, cinnamon sticks (or ground cinnamon), and allspice into a big pot. Add just enough water to cover the apples—usually about half of a large stockpot. This balance helps concentrate the flavors without diluting them too much. Give everything a good stir so the brown sugar starts dissolving.
Step 3: Simmer and Steep
Bring the mixture to a boil over medium-high heat, then reduce the heat to low and let it simmer gently, uncovered, for about an hour. Stir occasionally and press the apples with a spoon to release their juices. This slow simmer extracts all those delicious flavors without boiling off the sweet notes. I find this is the magic step that turns simple apples into rich cider.
Step 4: Strain and Serve
Once your cider is beautifully fragrant and flavorful, it’s time to strain out the solids. Use a fine-mesh strainer lined with cheesecloth or a clean kitchen towel to pour the cider through into a large bowl or pot. Gently press the solids to get every last bit of juice. Then transfer the cider back to your pot to warm before serving or storing.
How to Serve Homemade Apple Cider Recipe
Garnishes
For me, nothing beats a cinnamon stick stirred into the cup or a thin apple slice floating on top as a garnish. Sometimes I throw in a star anise for a bit of visual appeal and a touch of extra spice aroma. These simple touches elevate the experience without complicating things.
Side Dishes
I love pairing this warm cider with cozy baked goods like pumpkin muffins, gingerbread cookies, or even a simple grilled cheese. The cider’s sweetness provides a perfect counterpoint to savory comfort foods and makes snack time feel like a special occasion.
Creative Ways to Present
For autumn get-togethers or holiday parties, try serving your homemade apple cider in mason jars or clear mugs with cinnamon stick stirrers and a sprinkle of nutmeg on top. I once made a hot cider bar with toppings like whipped cream, caramel drizzle, and various spices so guests could customize their drinks—it was such a hit!
Make Ahead and Storage
Storing Leftovers
I usually keep leftover cider in a glass jar or airtight container in the fridge where it stays fresh for about 5 days. Just make sure to give it a good stir or shake before reheating, as natural settling can happen. It tastes just as delicious the next day, which is a nice bonus.
Freezing
If you want to stash cider for longer, freezing works well. I pour it into ice cube trays first—that way I can thaw small amounts whenever I want without waiting for a whole pot to defrost. Just transfer the frozen cubes to a freezer bag and they’ll keep for up to three months.
Reheating
Reheat your cider gently on the stove over low heat so it doesn’t scorch or lose flavor. Microwave works too for a quick cup, but I prefer the stovetop to control the warmth and toss in a fresh cinnamon stick if I want extra aroma. Avoid boiling again—just warm through.
FAQs
-
Can I make homemade apple cider without brown sugar?
Absolutely! While brown sugar adds a slight depth and molasses flavor, you can substitute with white sugar, honey, or even maple syrup. Just adjust the amount to your taste since different sweeteners vary in sweetness and flavor.
-
What’s the best type of apple for apple cider?
A blend of sweet and tart apples works best for a balanced cider. I like combining Granny Smith for tartness with Fuji, Honeycrisp, or Gala for sweetness. Using just one type is fine but may make your cider more one-dimensional.
-
How long can I store homemade apple cider?
Refrigerated, homemade apple cider will stay fresh for about 5 days. If you want to keep it longer, freezing is your best bet and can extend storage up to three months.
-
Can I add alcohol to homemade apple cider?
Yes, you can add your favorite spirits like rum, bourbon, or brandy to warm apple cider just before serving to create a cozy cocktail. Just add it gradually and taste as you go!
-
Do I have to peel the apples for this recipe?
Nope, peeling is optional. Leaving the skins on actually helps the cider develop more flavor and natural pectin, which thickens it slightly. Just make sure to wash your apples well before chopping.
Final Thoughts
Whenever I make this Homemade Apple Cider Recipe, it feels like a little celebration of the season, no matter the day. Sharing it with friends or keeping a mug for myself on chilly afternoons makes everything feel just a bit cozier. I really hope you give this recipe a try because it’s one of those timeless drinks that warms not just the body but the soul. Trust me, your kitchen will be smelling amazing, and you’ll have a delicious, homemade treat to enjoy all season long.
Print
Homemade Apple Cider Recipe
- Prep Time: 15 minutes
- Cook Time: 2 hours
- Total Time: 2 hours 15 minutes
- Yield: About 8 cups (2 quarts) 1x
- Category: Beverage
- Method: Stovetop
- Cuisine: American
Description
This homemade apple cider recipe is a warm, cozy beverage perfect for fall and winter gatherings. Made with fresh apples, cinnamon, allspice, and light brown sugar, it’s naturally sweetened and bursting with spiced apple flavor. It’s easy to make on the stovetop and can be served hot or chilled.
Ingredients
Ingredients
- 10 medium apples, quartered
- ½ cup (100 g) light brown sugar, packed
- 4 sticks cinnamon, or 2 teaspoons ground cinnamon
- 1 tablespoon ground allspice
- 8 cups water (optional – to adjust consistency)
Instructions
- Prepare the apples: Wash and quarter the apples, removing any stems and blemishes. There is no need to peel or core the apples as the cooking process will soften them.
- Combine ingredients: In a large stockpot, add the quartered apples, light brown sugar, cinnamon sticks (or ground cinnamon), and ground allspice. Pour in 8 cups of water to cover the ingredients partially.
- Simmer the cider: Bring the mixture to a boil over medium-high heat, then reduce the heat to low, cover, and let it simmer gently for about 2 hours. Stir occasionally to ensure the sugar dissolves and the spices infuse properly.
- Mash the apples: After simmering, use a potato masher or large spoon to mash the softened apples against the side of the pot to release more flavor and juice.
- Strain the cider: Pour the mixture through a fine mesh sieve or cheesecloth into another pot or large bowl to separate the liquid from the apple solids and spices. Press gently on the solids to extract as much liquid as possible.
- Serve: Reheat the cider gently if desired and serve warm. Optionally, garnish with a cinnamon stick or apple slices for presentation. The cider can also be chilled and served cold.
- Store leftovers: Refrigerate any remaining cider in a sealed container for up to 5 days. Warm gently before serving again.
Notes
- You can adjust the sweetness by adding more or less brown sugar according to your taste.
- Using whole cinnamon sticks gives a milder, aromatic flavor; ground cinnamon will be stronger and should be adjusted carefully.
- For a smoother cider, strain twice or use a finer cheesecloth.
- This cider can be spiked with rum or bourbon for an adult version.
- To keep cider longer, freeze in airtight containers.
Keywords: apple cider, homemade cider, fall drink, spiced cider, warm beverage, autumn recipe