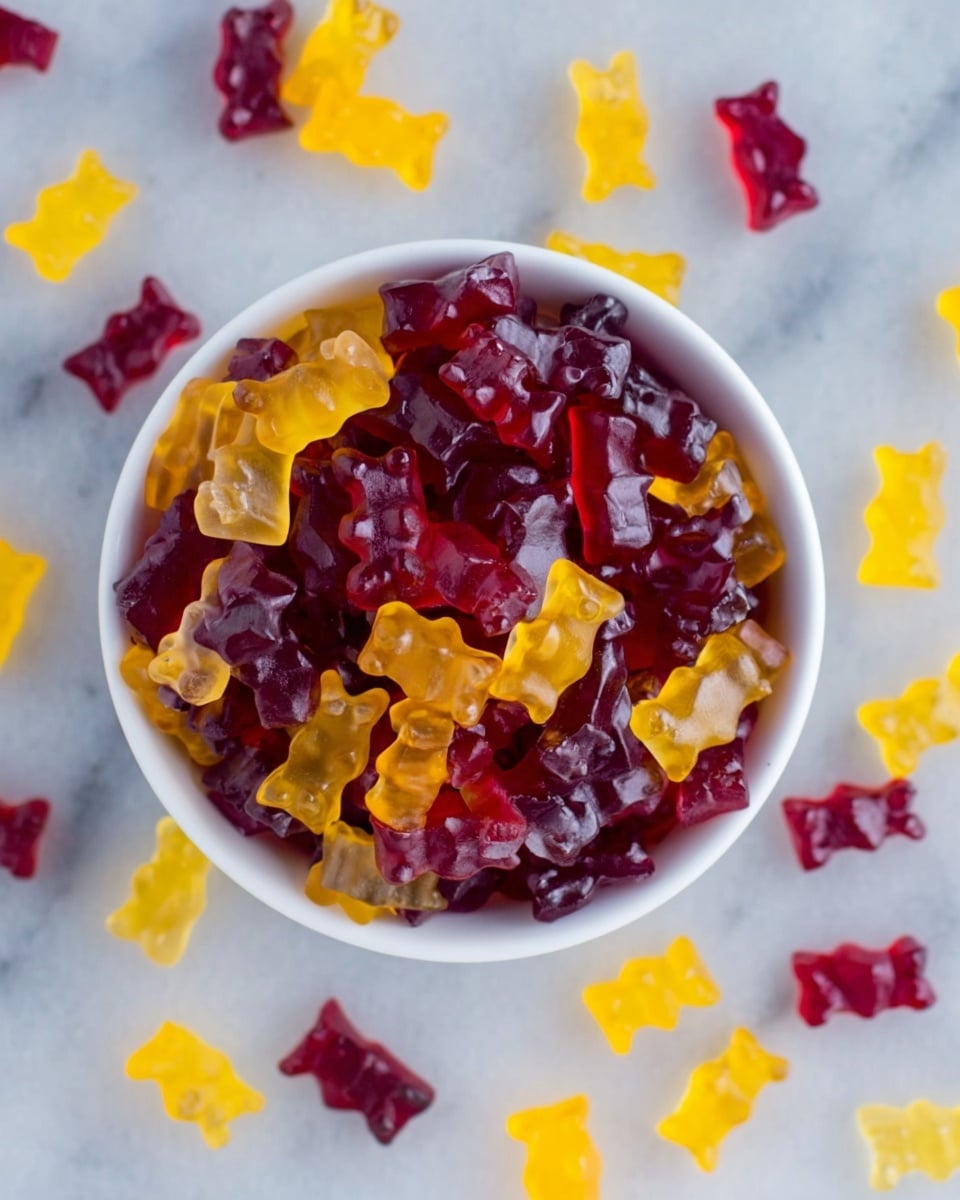
Healthy Homemade Gummies Recipe
I’ve always loved the idea of snacking on gummies, but the store-bought ones often come loaded with artificial colors, flavors, and way too much sugar. That’s why this Healthy Homemade Gummies Recipe instantly became one of my go-tos when I want a treat that’s actually good for me—and for you, too! It’s surprisingly simple to whip these up at home, and you can customize them with your favorite fruit juice, making it a fun and guilt-free snack anytime.
Whether you’re looking for a quick kid-friendly snack, a natural way to support your vitamin intake, or just craving something chewy and sweet, these gummies fit the bill perfectly. Plus, once you master this recipe, you’ll find it’s a fantastic base to play around with flavors and sweeteners, so you never get bored. Trust me, making these yourself feels like a little kitchen victory every time!
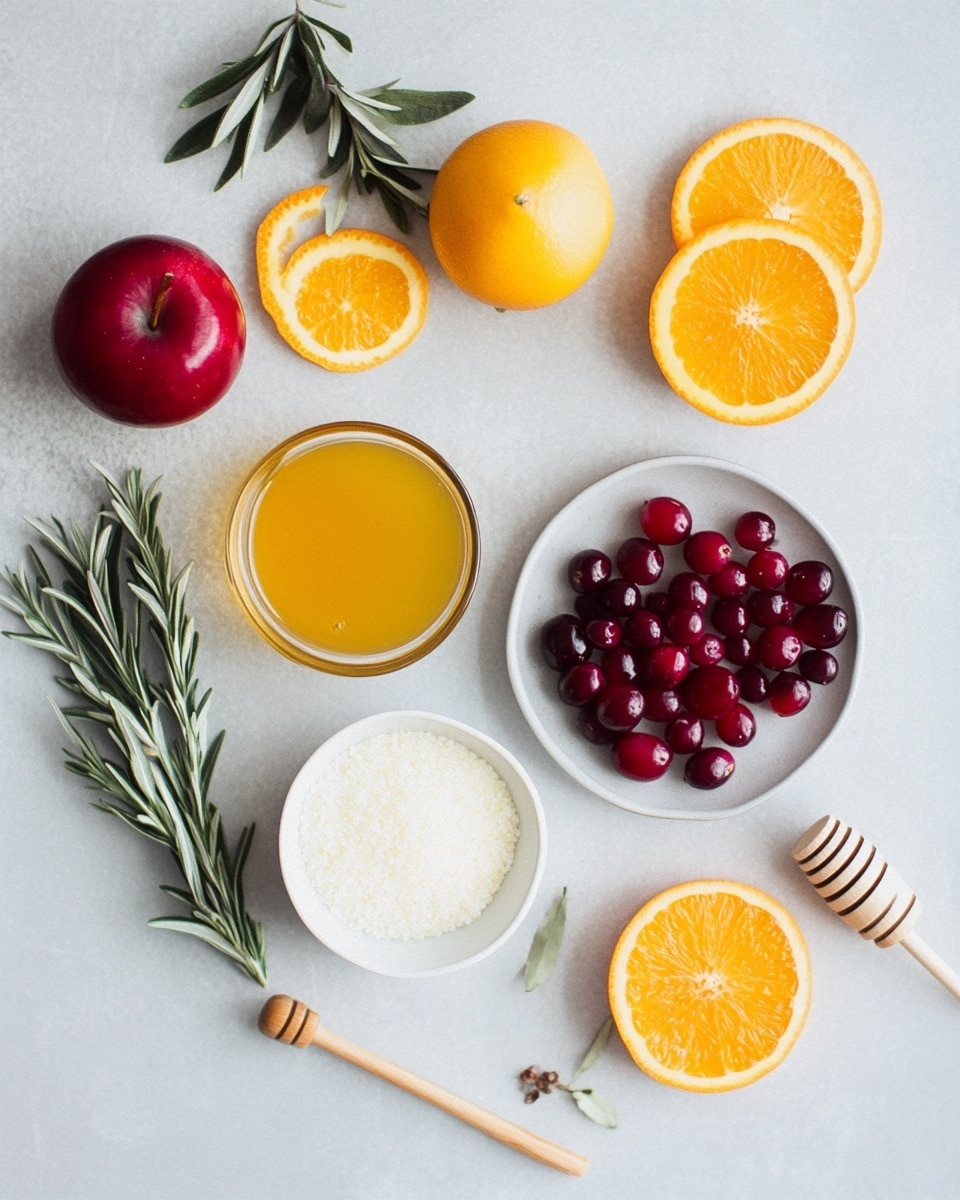
Ingredients You’ll Need
The beauty of this Healthy Homemade Gummies Recipe is its simplicity. Each ingredient works together to create a perfect balance of chewiness, flavor, and natural sweetness without any unnecessary additives.
- Fruit Juice: I usually go for apple or cranberry, but orange and grape work wonderfully, too. Fresh, natural juices bring out the best flavors and add antioxidants.
- Honey: It gently sweetens the gummies and adds a subtle floral note—if you like, you can swap it for maple syrup or agave for different sweetness profiles.
- Stevia or Granulated Sugar (optional): I add stevia when I want lower sugar; otherwise, a little granulated sugar helps round out the sweetness without overpowering.
- Unflavored Gelatin: This is the star for giving gummies that perfect chewy texture. Make sure it’s unflavored so the fruit juice shines through.
Variations
I love tweaking this Healthy Homemade Gummies Recipe depending on my mood and what I have in the fridge. You can easily make it your own, and I encourage you to experiment too—finding your favorite combo is part of the fun!
- Variation: Adding a splash of lemon or lime juice gives a zesty twist; I tried it once, and it brightened the flavors so nicely.
- Variation: For a vegan-friendly version, I’ve experimented with agar-agar instead of gelatin, though texture changes slightly—it’s softer but still yummy.
- Variation: Mix in a teaspoon of vitamin C powder for an immune boost; my kids loved these during cold season.
- Variation: Use mixed berry juice when in season—it makes the gummies punchy in flavor and so vibrant in color.
How to Make Healthy Homemade Gummies Recipe
Step 1: Combine Your Ingredients
Start by pouring 1/3 cup of your chosen fruit juice into a small saucepan over low heat. Warm it gently—don’t let it boil—that’s important to preserve the fresh flavor and nutrients. Then, stir in the honey and optional sweetener (stevia or sugar) until fully dissolved. This part is where you can really adjust sweetness to your liking, so taste as you go.
Step 2: Bloom the Gelatin
Sprinkle the unflavored gelatin evenly over the juice mixture and let it sit for about 5 minutes. This “blooming” step helps the gelatin absorb liquid and melt smoothly later without clumping. Stir occasionally to encourage even absorption.
Step 3: Gently Heat Until Dissolved
Keep the mixture over low heat, stirring constantly, until the gelatin is completely dissolved and the mixture looks smooth and glossy—usually about 3 to 5 minutes. Be patient here; too much heat can ruin the texture. Once it’s ready, remove from heat immediately.
Step 4: Pour Into Molds and Chill
Carefully pour the mixture into silicone molds or a glass dish lined with parchment paper. I use fun shapes for my kids and simple squares when I’m on the go. Pop them into the fridge and let chill for at least 2 hours or until firm. It’s the hardest part waiting, but trust me, it’s worth it!
How to Serve Healthy Homemade Gummies Recipe
Garnishes
While I usually enjoy these gummies plain, sometimes I dust them lightly with a bit of powdered sugar or cornstarch to reduce stickiness—especially on warm days. You could also roll them in shredded coconut or finely chopped dried fruit for extra texture and flavor.
Side Dishes
For a little snack platter, I like pairing these with fresh fruit slices and a small handful of nuts. If you’re serving them at a party, they complement light tea or sparkling water beautifully—keeping things refreshing and not too heavy.
Creative Ways to Present
One holiday, I arranged the gummies on a pretty glass platter alongside edible flowers and fresh mint leaves—it was a hit with my guests. You can also pack them in adorable jars or treat bags for gifting, making an impression that’s personal and thoughtful.
Make Ahead and Storage
Storing Leftovers
I keep my gummies in an airtight container in the fridge where they stay fresh and chewy for about a week. Make sure to layer parchment paper between batches so they don’t stick to each other. This recipe is perfect for making ahead before an event or when you want snacks ready to grab.
Freezing
Freezing homemade gummies isn’t my favorite since the texture can get a bit grainy when thawed, but if you want to try, just spread them out on a baking sheet to freeze individually before storing in an airtight container. Thaw in the fridge for a few hours before eating.
Reheating
Reheating isn’t really necessary for gummies since they’re best cold or at room temperature. If you do want to soften them, leave them out on the counter for 10-15 minutes, but avoid heat as it can melt the gelatin and ruin texture.
FAQs
-
Can I use fruit puree instead of juice in this Healthy Homemade Gummies Recipe?
Absolutely! Using fruit puree can add a thicker texture and more intense flavor. Just keep in mind you might need to adjust the gelatin amount slightly since the mixture will be denser.
-
Are these gummies suitable for kids?
Yes! These homemade gummies are great for kids because they’re made with simple, natural ingredients. Just watch the sweetener—some kids prefer less or no added sugar.
-
Can this recipe be made vegan?
Traditionally, gelatin comes from animal sources, but you can substitute it with agar-agar powder for a vegan-friendly version. Note that agar-agar sets differently and produces a slightly different texture.
-
How do I prevent gummies from sticking together?
Coating the gummies lightly with cornstarch or powdered sugar helps prevent sticking. Also, store them in a single layer or separated by parchment paper inside an airtight container.
Final Thoughts
Making this Healthy Homemade Gummies Recipe feels like a little act of self-care in my busy kitchen. It’s a simple, fun way to enjoy a treat that’s not just empty calories but something nourishing and customizable. I really hope you give it a try—once you do, you might find these gummies becoming your favorite snack for all occasions, just like they did for me.
Print
Healthy Homemade Gummies Recipe
- Prep Time: 5 minutes
- Cook Time: 5 minutes
- Total Time: 2 hours 10 minutes (including setting time)
- Yield: About 20 small gummies 1x
- Category: Dessert
- Method: Stovetop
- Cuisine: American
- Diet: Low Fat
Description
This Healthy Homemade Gummies recipe offers a natural and easy way to make delicious, fruit juice-based gummy snacks using simple ingredients like fruit juice, honey, and gelatin. Perfect for a nutritious treat without artificial additives, these gummies are lightly sweetened and can be customized with your favorite juice flavors.
Ingredients
Ingredients
- 1/3 cup fruit juice (apple, orange, cranberry, grape) – 80g
- 2 Tbsp honey – 42g
- 2 tsp (1 packet) stevia or granulated sugar (optional) – 4g
- 2 1/2 tsp (1 envelope) unflavored gelatin – 7g
Instructions
- Mix the Liquid Ingredients: In a small saucepan, pour the fruit juice of your choice and stir in the honey and stevia or sugar if using. Heat gently over low heat until the honey dissolves completely, but do not let it boil.
- Add Gelatin: Sprinkle the unflavored gelatin evenly over the warm juice mixture and whisk continuously until the gelatin has fully dissolved and the mixture is smooth.
- Pour into Molds: Remove the saucepan from heat and carefully pour the mixture into silicone gummy molds or a shallow flat pan to set.
- Chill to Set: Place the molds or pan in the refrigerator for at least 2 hours or until the gummies are firm and set.
- Remove and Store: Once set, pop the gummies out of the molds or cut into pieces if set in a pan. Store them in an airtight container in the refrigerator for up to a week.
Notes
- You can use any 100% fruit juice according to your taste preference.
- Honey can be substituted with maple syrup or agave nectar if preferred.
- Stevia or sugar is optional depending on your sweetness choice.
- Make sure not to boil the mixture after adding gelatin to maintain the gelling property.
- Use silicone molds for easy removal or line your pan with parchment paper.
- This recipe is naturally gluten-free and can be made vegan by using agar-agar instead of gelatin.
Keywords: healthy gummies, homemade gummies, fruit juice gummies, gelatin gummies, natural candy, low sugar snack