Garlic Bread Rolls Recipe
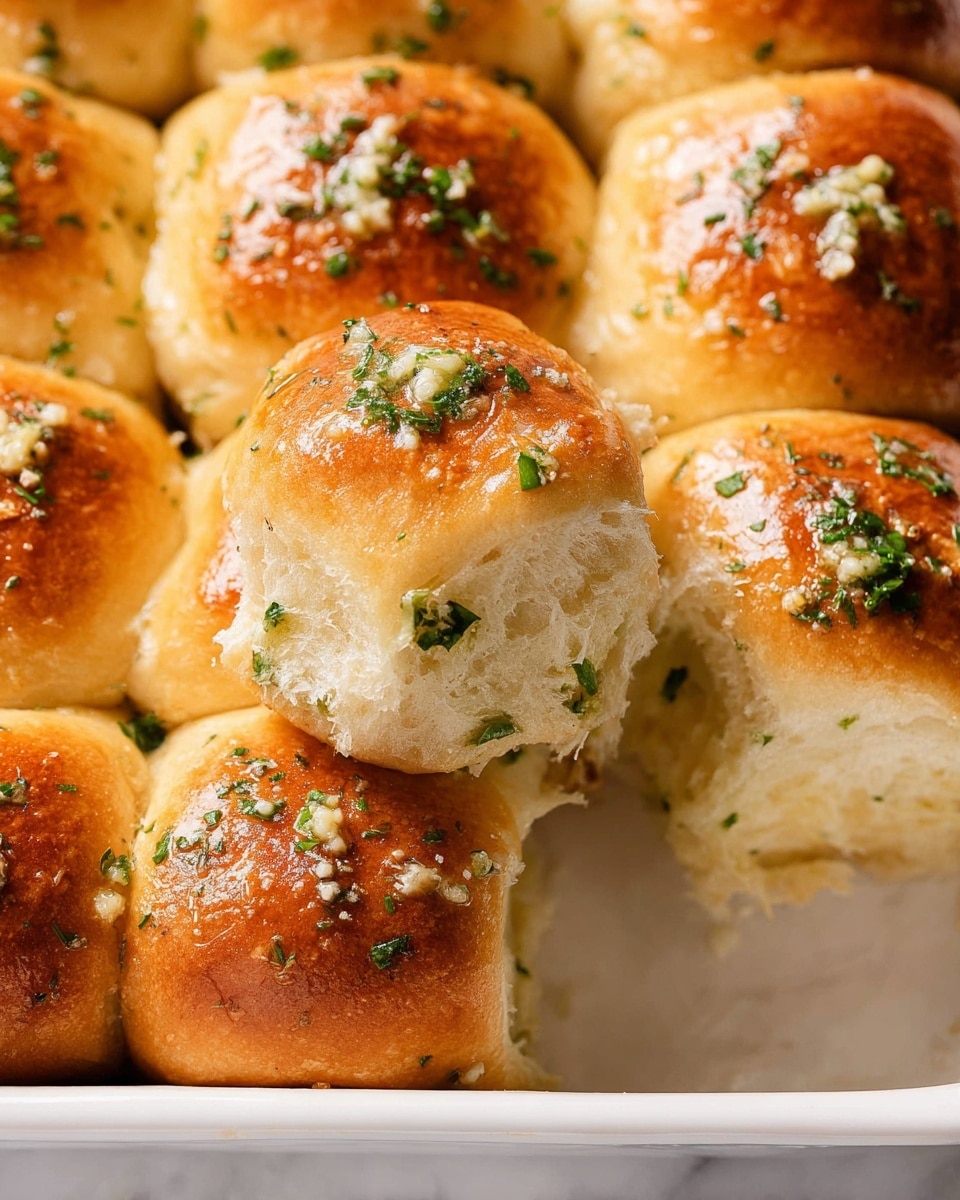
If you love the idea of soft, fluffy rolls infused with rich garlic and buttery goodness, then this Garlic Bread Rolls Recipe is going to be your new go-to. Honestly, these rolls have a way of turning any meal into a comforting feast, whether it’s a simple weeknight dinner or a weekend gathering with friends. The garlic flavor is prominent but balanced, paired perfectly with the herby parsley and that fluffy interior you just want to tear into right away.
What makes this Garlic Bread Rolls Recipe especially worth trying is how it brings homemade charm without being intimidating. You don’t need a bread pro to pull these off, and I promise the smell alone will have you hooked before they’re even out of the oven. Plus, they pair beautifully with almost anything — soups, pasta, or even just slathered with extra butter for an indulgent snack.
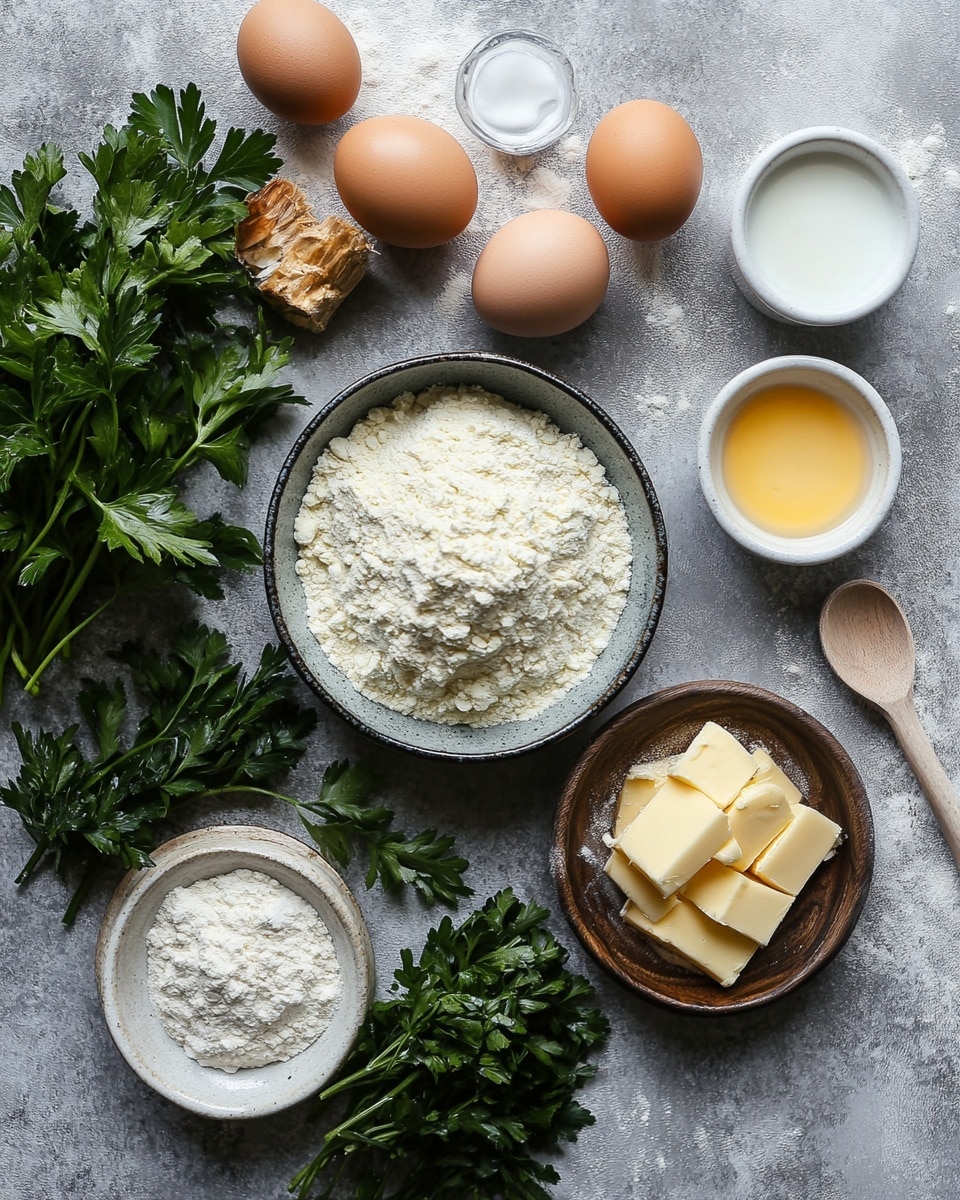
Ingredients You’ll Need
The magic really starts with simple, fresh ingredients that complement each other beautifully. I always keep a good-quality all-purpose flour and fresh parsley on hand because they elevate the whole flavor. Pro tip: measure your flour correctly—fluff it up first and spoon it into the cup rather than scooping—it makes a big difference in roll texture.
- Unsalted butter: Using unsalted butter lets you control the salt levels, essential for that perfect balance.
- Minced garlic: Fresh garlic here packs way more punch than powder—totally worth the extra mincing.
- All-purpose flour: The backbone of your dough, measured carefully for soft rolls.
- Chopped fresh parsley: Adds a lovely freshness and color contrast that makes the rolls inviting.
- Granulated sugar: Just enough to feed the yeast and add a hint of sweetness.
- Instant yeast: My time-saving go-to, no proofing needed, and gives a nice rise.
- Fine sea salt: Balances sweetness and enhances garlic flavor without being too sharp.
- Milk (whole or 2%): Warm to about 110°F—warm but not hot to activate the yeast gently.
- Large egg: Adds richness and tender crumb to the dough.
- Beaten egg (for brushing): Creates that golden, glossy finish on the baked rolls.
- Flaky sea salt (for finishing): Gives a delightful crunch and bursts of salty flavor on top.
Variations
One of my favorite things about this Garlic Bread Rolls Recipe is how flexible it is. You can tailor it to suit what you’ve got in the kitchen or even tweak it for dietary preferences. Don’t be shy about experimenting with add-ins or toppings to keep every batch feeling fresh and exciting!
- Cheesy garlic rolls: I love sprinkling shredded mozzarella or parmesan inside the dough or on top before baking for an ooey-gooey twist.
- Vegan version: Swap out butter for olive oil and use plant-based milk to make these cruelty-free and just as delicious.
- Herb blend: Feel free to swap parsley for basil, rosemary, or thyme depending on what flavor vibes you want.
- Spicy garlic bread rolls: Add a pinch of red pepper flakes to the garlic butter mix for a subtle kick I enjoy on cooler days.
How to Make Garlic Bread Rolls Recipe
Step 1: Mix and Knead Your Dough
Start by warming the milk to about 110°F—think warm bath temperature, not hot. In a large bowl, mix your flour, instant yeast, sugar, and salt together so everything’s evenly distributed. Then, stir in the minced garlic, chopped parsley, the melted butter, the warm milk, and the room-temp egg. Once it comes together, knead the dough on a floured surface for about 8–10 minutes until it’s smooth and elastic. A food processor with a dough hook can speed this up if you’re short on time.
Step 2: First Rise – Patience is Key
Place your dough in a lightly oiled bowl and cover tightly with a damp towel or plastic wrap. Let it rise in a warm spot until doubled in size—usually about 1 to 1.5 hours. I like putting mine on top of the fridge or near a sunny window. This step is crucial; a rushed rise means dense rolls, which we want to avoid!
Step 3: Shape Your Rolls
Once risen, punch down the dough gently to release air bubbles, then divide it into equal-sized balls—about 12 pieces work well for dinner rolls. Shape each into a smooth ball and place them close together on a greased baking pan. Cover again and let them rest for about 30 minutes to rise a bit more before baking. This second rise boosts that signature fluffiness.
Step 4: Brush and Bake
Preheat your oven to 375°F (190°C). Brush the tops of the rolls with the beaten egg to get a golden, shiny crust. Bake for about 18–22 minutes until they’re golden brown and sound hollow when tapped. As soon as they come out, brush them with the garlic butter mixture—fresh minced garlic, melted butter, parsley, and a sprinkle of flaky sea salt. This final touch elevates them to absolute heaven.
How to Serve Garlic Bread Rolls Recipe
Garnishes
I usually finish these rolls with a sprinkle of flaky sea salt and a little extra fresh parsley. The salt adds just the right crunch and contrast to the soft, buttery bread. Sometimes I add a tiny drizzle of good olive oil over the top right before serving—totally optional but a small indulgence I love.
Side Dishes
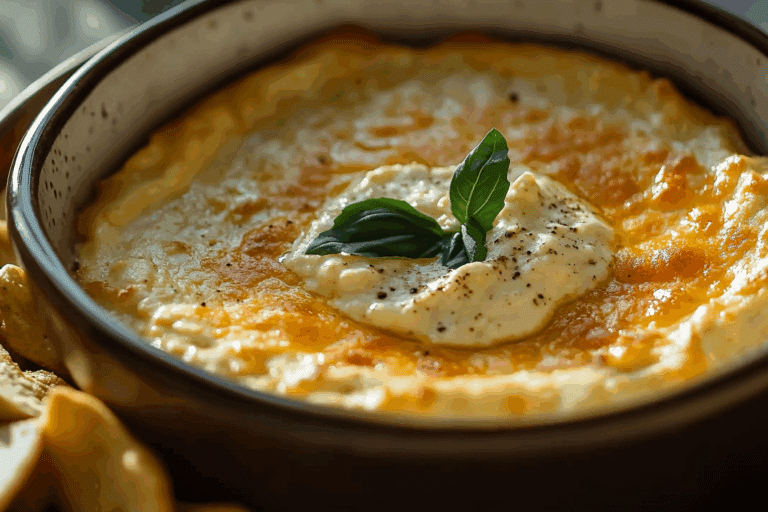
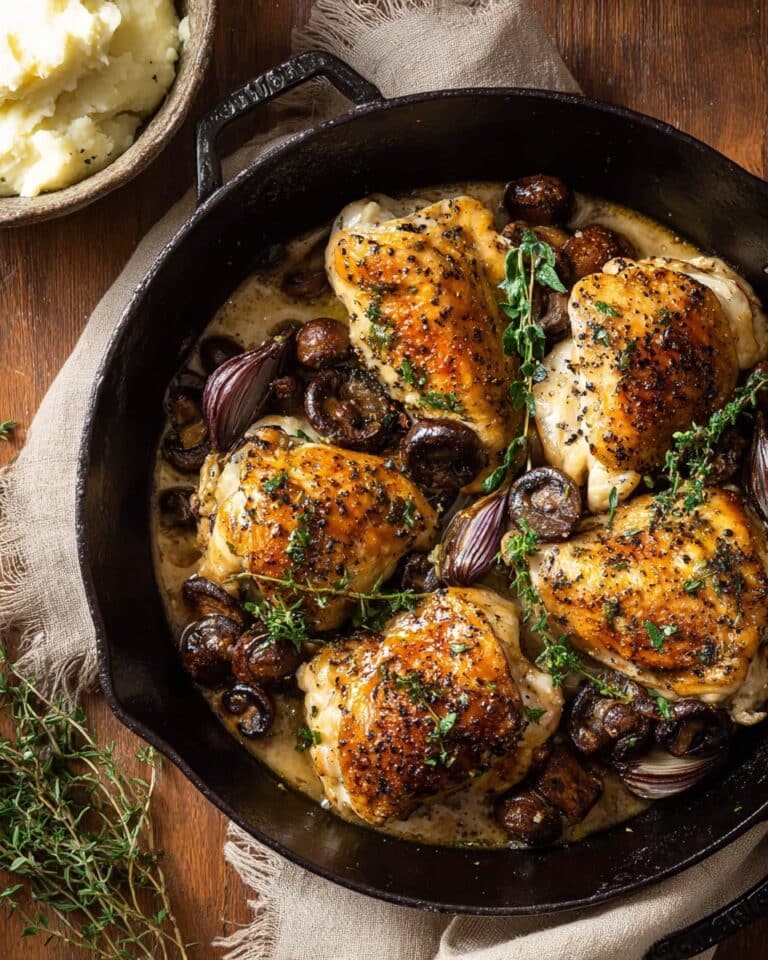
These Garlic Bread Rolls are a dream alongside classic tomato soup or a hearty pasta dish like spaghetti Bolognese. They’re also perfect served with a fresh green salad to balance the richness, or even as a vehicle for dipping into your favorite olive oil or hummus.
Creative Ways to Present
For a special occasion, I like arranging them in a braided or wreath shape on a baking tray—looks stunning and feels festive. You can also pop little cheese cubes or herbs between the rolls before the final rise for a visual and flavor surprise that everyone notices.
Make Ahead and Storage
Storing Leftovers
If you have leftovers—which I hope you do!—store them in an airtight container or resealable bag at room temperature. They’ll stay soft and fresh for 2-3 days. I always keep a little cube of bread wrapped separately to add moisture if needed when reheating.
Freezing
These rolls freeze wonderfully! After baking and cooling completely, wrap them tightly in plastic wrap and place in a freezer bag. When you want to enjoy them, thaw at room temperature for a few hours or overnight in the fridge. It’s a great way to have garlic bread rolls ready for last-minute meals.
Reheating
For reheating, I pop the rolls in a 350°F oven for about 10 minutes, loosely covered with foil to avoid drying out. This brings back that fresh-baked softness and keeps the crust nicely crisp. You can also microwave for about 15 seconds but the oven is definitely my favorite method for best texture.
FAQs
-
Can I use regular yeast instead of instant yeast in this Garlic Bread Rolls Recipe?
Yes, you can substitute active dry yeast for instant yeast, but you’ll need to proof it first by dissolving it in warm water (or warm milk) with a pinch of sugar and letting it sit until foamy—usually 5-10 minutes. This step isn’t needed with instant yeast, which can be mixed directly with the dry ingredients. Adjust the liquid amount slightly if necessary.
-
How do I know when the rolls are done baking?
The rolls are done when they’re deeply golden brown on top and sound hollow when you tap the bottom. Internal temperature should be around 190°F when checked with a kitchen thermometer. Don’t overbake—rolling them out quickly after baking will keep them soft and fluffy.
-
Can I make these rolls gluten-free?
While this recipe is designed with all-purpose flour, you can experiment with gluten-free baking flour blends, but expect some textural differences. Gluten-free dough can be stickier and less elastic, so you might need a binder like xanthan gum and adjust liquids carefully. It’s always good to test small batches first.
-
What’s the best way to store leftover garlic butter?
Store leftover garlic butter in an airtight container in the fridge for up to a week. You can also freeze it in small portions (ice cube trays work great) for months. Just thaw and warm slightly before brushing on fresh rolls or using in cooking.
-
Can I make these rolls ahead and bake them later?
Absolutely! After shaping the rolls, you can refrigerate them overnight, covered well with plastic wrap or in a container. Let them come to room temperature and rise a bit before baking. This makes for easy prep when hosting or managing busy schedules.
Final Thoughts
This Garlic Bread Rolls Recipe holds a special place in my kitchen because it’s one of those rare recipes that’s both straightforward and incredibly satisfying. Every time I make them, I’m reminded how homemade bread doesn’t have to be complicated to impress. I really hope you’ll give this recipe a try and enjoy the cozy, garlicky warmth in every bite—as much as I do sharing them around my table with loved ones.
Print
Garlic Bread Rolls Recipe
- Prep Time: 20 minutes
- Cook Time: 18 minutes
- Total Time: 2 hours 30 minutes
- Yield: 10–12 rolls 1x
- Category: Bread
- Method: Baking
- Cuisine: American
Description
Soft and flavorful garlic bread rolls made with a rich garlic butter spread, fresh parsley, and a tender yeast dough. These rolls are perfect as a side or snack, boasting a golden crust brushed with egg wash and topped with flaky sea salt for an irresistible finish.
Ingredients
Dough Ingredients
- 4 1/2 tablespoons unsalted butter
- 2 tablespoons minced garlic
- 3 1/2 cups + 1 tablespoon all-purpose flour
- 3 tablespoons chopped fresh parsley
- 1 tablespoon granulated sugar
- 2 1/4 teaspoons instant yeast
- 1 teaspoon fine sea salt
- 1 cup whole or 2% milk, warmed to 110°F
- 1 large egg, room temperature
- 1 beaten egg, for brushing the tops
Garlic Butter Topping
- 2 tablespoons unsalted butter
- 1 tablespoon minced garlic
- 1 tablespoon chopped fresh parsley
- Flaky sea salt, for finishing
Instructions
- Prepare the dough: In a large mixing bowl, combine the warmed milk, sugar, and instant yeast. Let it sit for about 5 minutes until the yeast activates and becomes foamy.
- Add wet ingredients and mix: Add the softened unsalted butter, minced garlic, chopped parsley, and the room temperature egg to the yeast mixture. Mix to combine thoroughly.
- Incorporate dry ingredients: Gradually add the all-purpose flour and fine sea salt into the wet mixture, stirring until a rough dough forms. Adjust flour as needed to achieve a soft, slightly sticky dough.
- Knead the dough: On a floured surface, knead the dough for about 8-10 minutes until smooth and elastic. Alternatively, use a stand mixer with a dough hook on medium speed for 6-7 minutes.
- First proof: Place the dough in a lightly greased bowl, cover with a damp cloth or plastic wrap, and let it rise in a warm place for about 1 to 1.5 hours or until doubled in size.
- Shape the rolls: Punch down the dough gently to release air. Divide the dough into equal portions (usually 10-12 pieces). Shape each portion into a smooth round ball.
- Second proof: Arrange the dough balls on a baking sheet lined with parchment paper, spaced slightly apart. Cover with a clean towel and let them rise again for 45 minutes to an hour until puffed.
- Prepare garlic butter: Melt 2 tablespoons unsalted butter in a small saucepan or microwave. Stir in 1 tablespoon minced garlic and 1 tablespoon chopped parsley. Set aside.
- Brush and season rolls: Preheat the oven to 375°F (190°C). Brush the tops of the risen rolls gently with the beaten egg for a glossy finish. Then, brush some of the prepared garlic butter over the rolls and sprinkle flaky sea salt on top.
- Bake the rolls: Bake in the preheated oven for 15-18 minutes or until golden brown on top and cooked through.
- Final touch: Immediately after removing from the oven, brush the rolls again with the remaining garlic butter to enhance flavor and shine. Serve warm for the best taste.
Notes
- Use the spoon and level method to measure flour accurately: spoon flour into measuring cup then level off with a knife.
- Warming the milk to 110°F helps to activate yeast without killing it.
- For softer rolls, avoid adding too much extra flour; dough should be slightly sticky.
- You can substitute fresh parsley with dried parsley, but reduce the amount by half.
- Rolls are best eaten fresh but can be stored in an airtight container for up to 2 days.
- Reheat in the oven or toaster oven to restore softness.
Keywords: garlic bread rolls, homemade garlic rolls, soft garlic bread, yeast rolls, garlic butter bread