Easter Sugar Cookies with Royal Icing Recipe
I’m so excited to share this Easter Sugar Cookies with Royal Icing Recipe with you! There’s just something magical about making cookies that not only taste delicious but also become little works of art. These sugar cookies are perfectly soft with a subtle vanilla flavor, and the royal icing adds that smooth, glossy finish that’s ideal for decorating all your Easter-themed shapes. Whether you’re baking with kids or prepping for a festive brunch, these cookies bring so much joy and creativity to the table.
I’ve found that this recipe is super forgiving and beginner-friendly, which I know is key when you’re trying to nail royal icing for the first time. Plus, the chill time actually helps the dough firm up, so you get those crisp edges without losing softness inside. If you’re hunting for an Easter Sugar Cookies with Royal Icing Recipe that delivers consistently scrumptious results and lets you get really creative with colors and designs, this one will quickly become your go-to!
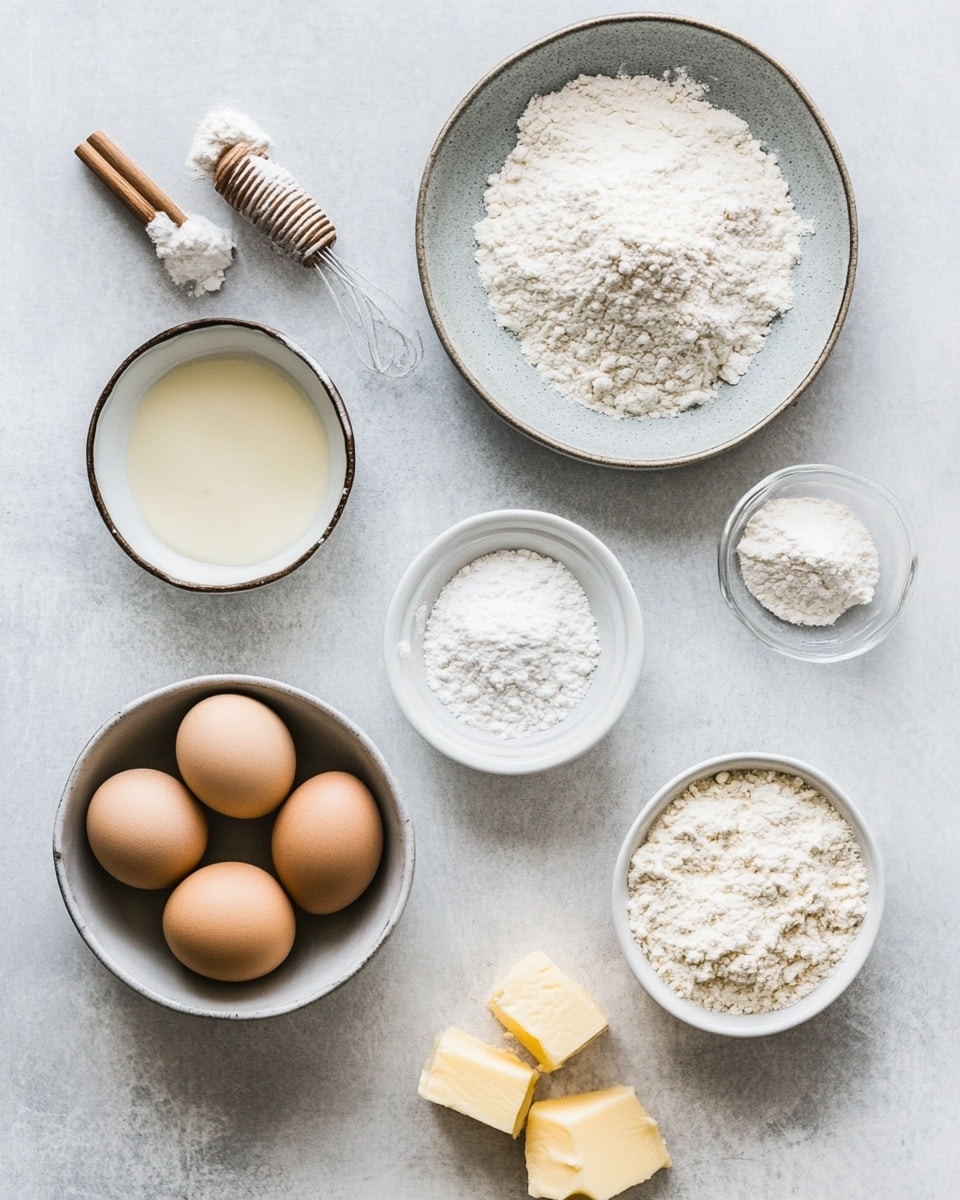
Ingredients You’ll Need
It’s all about classic baking staples that work together to create a perfectly buttery, tender cookie base with the right sweetness. For the royal icing, the key is to use finely sifted icing sugar for that smooth, glossy finish, and adjusting water little by little ensures you get just the right consistency for decorating.
- Plain, all-purpose flour: This serves as the base for your cookies, providing structure without heaviness.
- Baking powder: Just a pinch to give your cookies a little lift so they don’t turn out too dense.
- Salt: Enhances the flavors and balances out the sweetness perfectly.
- Unsalted butter: Softened to room temperature for easy creaming, it’s what gives the cookies that melt-in-your-mouth texture.
- Caster or granulated sugar: I prefer caster sugar for its fine texture, but regular granulated works just fine.
- Egg: Adds richness and helps bind all those delicious ingredients together.
- Vanilla extract: A must-have for that warm, comforting aroma and flavor.
- Royal icing sugar (icing/confectioners’ sugar, sifted): For the smoothest icing, make sure to sift to avoid any lumps that would clog your piping bags.
- Room temperature water: Added gradually to get the desired piping consistency in the icing.
Variations
I like to switch things up sometimes by playing with flavor and color, so don’t feel stuck with the classic version. This Easter Sugar Cookies with Royal Icing Recipe is versatile enough to handle a few tweaks that reflect your style or dietary needs.
- Flavored Extracts: I’ve added almond or lemon extract instead of vanilla for a bright twist that really wakes up the cookies.
- Gluten-Free Version: Using a gluten-free all-purpose flour blend works well, just be sure to chill the dough thoroughly so it’s easier to roll and cut.
- Natural Food Coloring: I love using beet juice or turmeric powders for natural hues in the royal icing when I’m avoiding artificial dyes.
- Vegan Adaptation: Swap out the egg for a flax egg (1 tbsp ground flax + 3 tbsp water) and use vegan butter to keep everything yummy and plant-based.
How to Make Easter Sugar Cookies with Royal Icing Recipe
Step 1: Mix Your Dry Ingredients
Start by combining your flour, baking powder, and salt in a medium bowl. Mixing these first ensures everything is evenly distributed so your cookies bake up uniform every time. Set that aside while you prep the wet ingredients.
Step 2: Cream Butter and Sugar
Using an electric mixer, beat the softened butter on medium-high speed until it’s pale and fluffy — about 2 minutes. This step is the secret to light, tender cookies. Then add in the sugar and cream for another 2 minutes to incorporate air and sweetness evenly.
Step 3: Incorporate Egg and Vanilla
Crack in your egg and pour the vanilla extract. Beat again on high speed until everything is fully combined, scraping down the sides of your bowl as needed to make sure nothing is left behind.
Step 4: Combine Flour Mixture and Butter Mixture
Add the flour mixture into the wet ingredients slowly, mixing on low speed until just combined. Don’t overmix here—you want tender cookies, not tough ones.
Step 5: Chill and Roll Out the Dough
Split your dough into two equal portions. Roll each portion between two sheets of baking paper or on a silicone mat, dusting lightly with flour to prevent sticking. Aim for about 5mm thickness. Refrigerate the rolled dough for at least 1-2 hours — this step is crucial because it firms up the dough, making it easier to cut clean shapes and keeping your cookies from spreading during baking.
Step 6: Cut and Bake Your Cookies
Preheat your oven to 180°C (160°C for fan ovens). Line your trays with baking paper. Pop one chilled dough sheet out of the fridge at a time and use your favorite cookie cutters to make Easter shapes. Save those trimmings, re-roll briefly, and repeat until all the dough is used. Bake on the middle shelf for about 10 minutes — you’ll know they’re done when the edges start to turn a light golden brown. Let them cool on the tray for 5 minutes before transferring to a rack to cool completely.
Step 7: Whip Up Your Royal Icing
In a clean bowl fitted with a whisk, mix the royal icing sugar with room temperature water for around 2 minutes until smooth. The test here is to lift your whisk and drizzle the icing back – if it smooths out within 10-12 seconds, you’re good to go. Adjust with a bit more water or sugar to get that perfect flowing consistency. Then divide into bowls and add your desired gel food colors, mixing each with a toothpick so colors don’t bleed.
Step 8: Decorate Your Cookies
Outline each cookie’s edges with a piping bag fitted with a small snipped tip, then let that dry just a little. When ready, “flood” the inside with icing, using a toothpick to fill any gaps. Tap the tray gently so icing levels out. Let the icing dry completely — patience pays off here! Add extra layers or fine details once the base layer is dry for beautifully finished cookies.
How to Serve Easter Sugar Cookies with Royal Icing Recipe
Garnishes
I usually keep it simple with tiny edible pearls or pastel-colored sprinkles right after “flooding.” They add a subtle texture and that extra festive sparkle without hiding your hand-painted designs. A little sanding sugar also works wonders if you want a soft shimmer effect.
Side Dishes
These cookies make a lovely companion to a fresh fruit salad or a light spring tea. I love setting them out alongside a pot of chamomile or mint tea for Easter brunch — something that feels fresh and pairs well with sweetness without overpowering the buttery cookie flavors.
Creative Ways to Present
One year, I arranged my decorated cookies in a vibrant Easter basket lined with pastel tissue paper, nestled alongside mini chocolate eggs and fresh flowers. It was a hit at our family gathering! You can also tie them up individually in clear cellophane bags with a cute ribbon for sweet little gifts or party favors.
Make Ahead and Storage
Storing Leftovers
I store my leftover cookies in airtight containers at room temperature, layering them with parchment paper to prevent sticking. They stay fresh and soft for up to a week, which means you can make these ahead of Easter without worry.
Freezing
If you want to prep even earlier, freezing works like a charm. I freeze plain or decorated cookies layered between sheets of baking paper in a freezer-safe container and they keep well for about 3 months. Just thaw them gently at room temperature before serving to avoid condensation on the icing.
Reheating
Since these are best enjoyed at room temperature to appreciate the texture and icing, I usually just let frozen cookies thaw fully on the counter. If you’re craving a warm cookie, a quick 5-8 second zap in the microwave is okay, but avoid overheating or the icing might soften too much.
FAQs
-
Can I skip the chilling step in this Easter Sugar Cookies with Royal Icing Recipe?
Chilling the dough is really important here because it keeps the cookie shapes intact while baking and enhances flavor development. Skipping it can cause cookies to spread too much and lose their defined edges. If you’re short on time, a minimum of one hour in the fridge can still help, but overnight chilling yields the best results.
-
How do I know if my royal icing is the right consistency for decorating?
Lift your whisk or spoon from the icing and watch how the icing drizzles down — if it smooths out and “melts” back into the icing within about 10-12 seconds, you’ve got the right “flood” consistency for filling in cookie surfaces. Thicker icing is great for outlining, while thinner icing helps with flooding.
-
Can I use regular powdered sugar instead of royal icing sugar?
Royal icing sugar is finer and often cornstarch-free, which helps create a smooth finish. If you only have regular powdered sugar, sift it really well and be prepared for a slightly different texture. It might require more liquid adjustments to get the consistency right.
-
How long does royal icing take to dry completely?
It typically takes several hours for royal icing to harden fully at room temperature—usually 4-6 hours depending on thickness and humidity. For best results, try to let cookies dry overnight so the icing is firm and won’t smudge during handling or packaging.
-
Is it better to decorate cookies right away or after they’ve cooled completely?
Always wait until your cookies have fully cooled before decorating to prevent the icing from melting or running. Warm cookies make royal icing lose its structure, so patience here results in neater, prettier decorations.
Final Thoughts
This Easter Sugar Cookies with Royal Icing Recipe has been a joyful tradition in my kitchen, bringing together family, creativity, and the simple pleasure of baking. I hope you find the same delight and success with it. Once you try these buttery, beautifully iced cookies, you’ll be itching to experiment with new shapes and colors each year. So go ahead, roll up your sleeves, and treat yourself and your loved ones to some homemade Easter magic!
Print
Easter Sugar Cookies with Royal Icing Recipe
- Prep Time: 1 hour
- Cook Time: 10 minutes
- Total Time: 4 hours 10 minutes
- Yield: 30 cookies 1x
- Category: Dessert
- Method: Baking
- Cuisine: American
Description
This Easter Sugar Cookies recipe offers a delightful and festive treat perfect for celebrating the holiday. Featuring soft, buttery sugar cookies decorated with smooth royal icing, these cookies are fun to make and decorate for family gatherings or parties. The dough is easy to prepare, chill, and cut into various shapes, while the royal icing adds vibrant color and intricate detail to your creations.
Ingredients
For the Sugar Cookies:
- 280 g plain, all purpose flour
- ½ teaspoon baking powder
- ¼ teaspoon salt
- 170 g unsalted butter, softened
- 150 g caster or granulated sugar
- 1 large egg
- 1 teaspoon vanilla extract
For the Icing:
- 500 g royal icing sugar, sifted
- 9 to 10 tablespoons room temperature water
Instructions
- Mix dry ingredients: In a medium bowl, combine flour, baking powder, and salt. Set aside for later use.
- Cream butter and sugar: Using an electric mixer, beat softened butter on medium-high speed for about 2 minutes until pale and fluffy. Add sugar and continue creaming for another 2 minutes. Incorporate the egg and vanilla extract and beat on high until fully combined, scraping the bowl as needed.
- Combine flour mixture: Gradually add the flour mixture into the butter mixture on low speed until combined, forming the cookie dough.
- Prepare dough for chilling: Divide dough into two equal parts. On a floured surface or silicone mat lined with baking paper, place one dough half, cover with another sheet of baking paper, and roll to approximately 5mm thickness. Repeat with the other half. Cover and chill in the fridge for at least 1-2 hours or overnight for best results.
- Preheat oven and cut shapes: Preheat oven to 180°C (160°C fan). Line baking trays with baking paper. Remove one chilled dough piece and use cookie cutters to cut shapes. Re-roll scraps as needed. Repeat with second dough piece.
- Bake cookies: Place cookies on baking trays and bake on the middle rack for about 10 minutes, rotating trays halfway through baking. Cookies are done when edges are lightly browned. Cool on the tray for 5 minutes, then transfer to a wire rack to cool completely.
- Prepare royal icing: In a stand mixer bowl or with a hand mixer, whisk royal icing sugar and water together for about 2 minutes until smooth and drizzly. The icing should drizzle smoothly and self-level within 10-12 seconds when the whisk is lifted.
- Adjust icing consistency: If too thick, add water one teaspoon at a time. If too thin, add more sifted icing sugar until reaching the right consistency.
- Color the icing: Divide icing into separate bowls. Add gel food coloring drops and mix well using separate toothpicks or skewers for each color.
- Decorate cookies: Transfer icing to piping bags with snipped tips. Pipe border lines on cookies and let dry briefly. Flood the interior with icing working from edges to center. Use a toothpick to fill gaps and tap cookies gently to even out icing. Allow complete drying before adding additional layers or details.
Notes
- Store plain or decorated cookies in an airtight container at room temperature for up to 7 days.
- Freeze plain or iced cookies layered with baking paper up to 3 months.
- Cookie dough can be frozen in two disk-shaped portions wrapped in clingfilm for up to 3 months; thaw in fridge and bring to room temperature before rolling and baking.
- Royal icing can be made 2-3 days ahead, stored sealed in the fridge, then brought to room temperature and whisked before use.
- Freeze royal icing in a zip-lock bag with excess air removed for up to 3 months; thaw at room temperature or in fridge before use.
- Alternatives to royal icing sugar could include powdered sugar mixed with meringue powder or pasteurized egg whites for similar consistency.
Keywords: Easter sugar cookies, royal icing cookies, decorated sugar cookies, holiday cookies, festive cookies, sugar cookie recipe, royal icing recipe