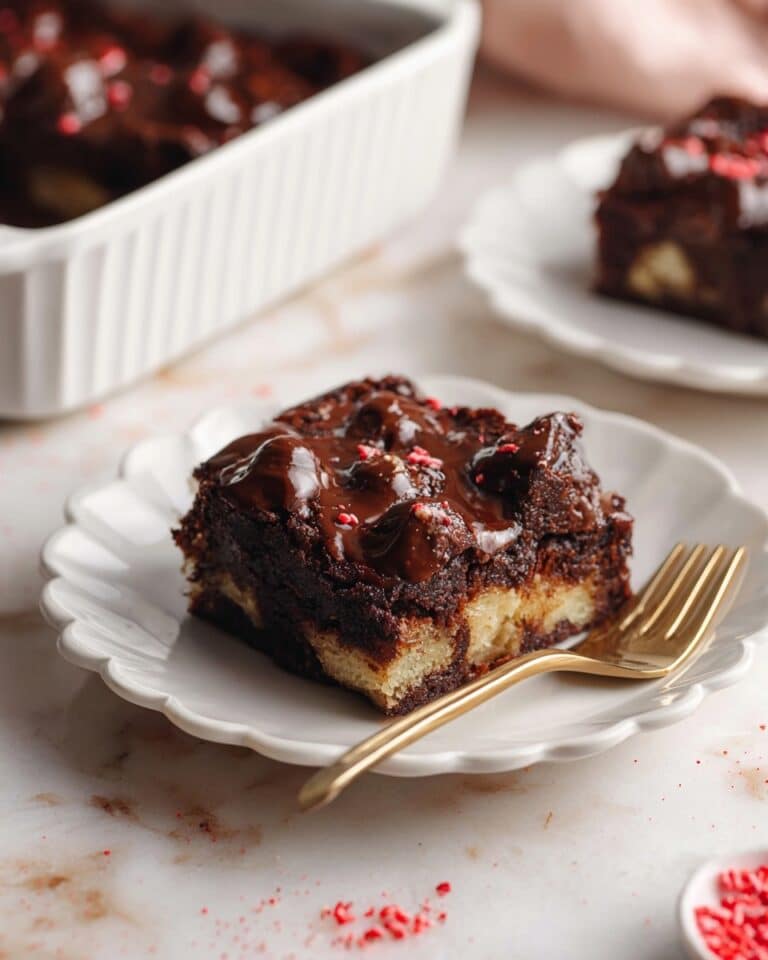
Cottage Cheese Cheesecake Recipe
If you’re anything like me, you love a cheesecake that feels rich and indulgent but isn’t weighed down with heavy cream cheese. This Cottage Cheese Cheesecake Recipe hits that sweet spot perfectly — it’s light, creamy, and has just the right tang from the cottage cheese and Greek yogurt combo. I first tried this recipe when I wanted a dessert that felt a little healthier yet still earned oohs and ahhs from my guests, and honestly, it’s been a staple ever since.
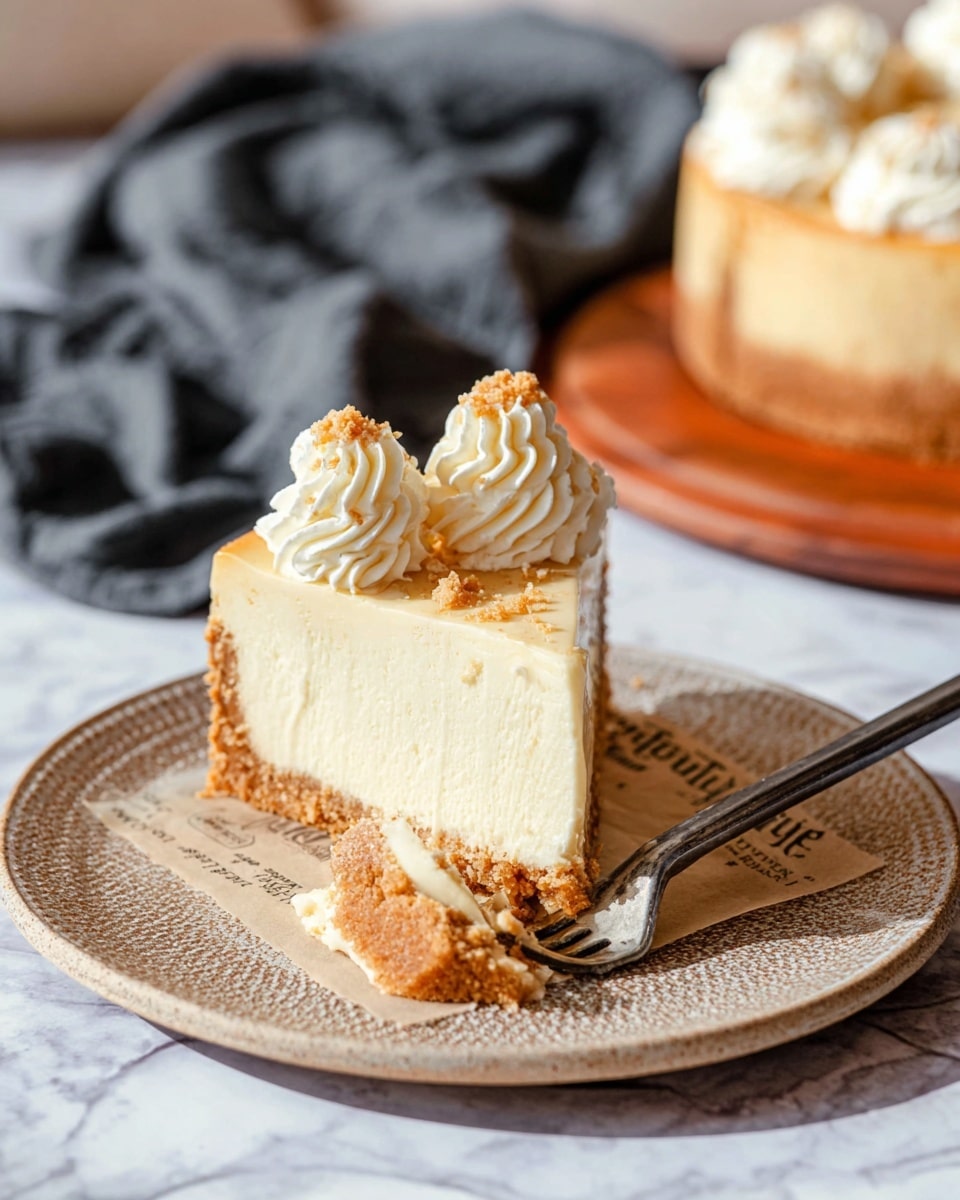
What makes this recipe really special is how easily the cottage cheese blends into the filling, giving you that smooth texture without the usual heaviness. It’s absolutely perfect for anytime you want a dessert that’s satisfying but won’t leave you feeling too full — whether it’s a casual family dinner or a celebratory brunch. Plus, once you master it, you’ll find yourself reaching for this Cottage Cheese Cheesecake Recipe whenever you crave a cheesecake that’s both comforting and a bit lighter.
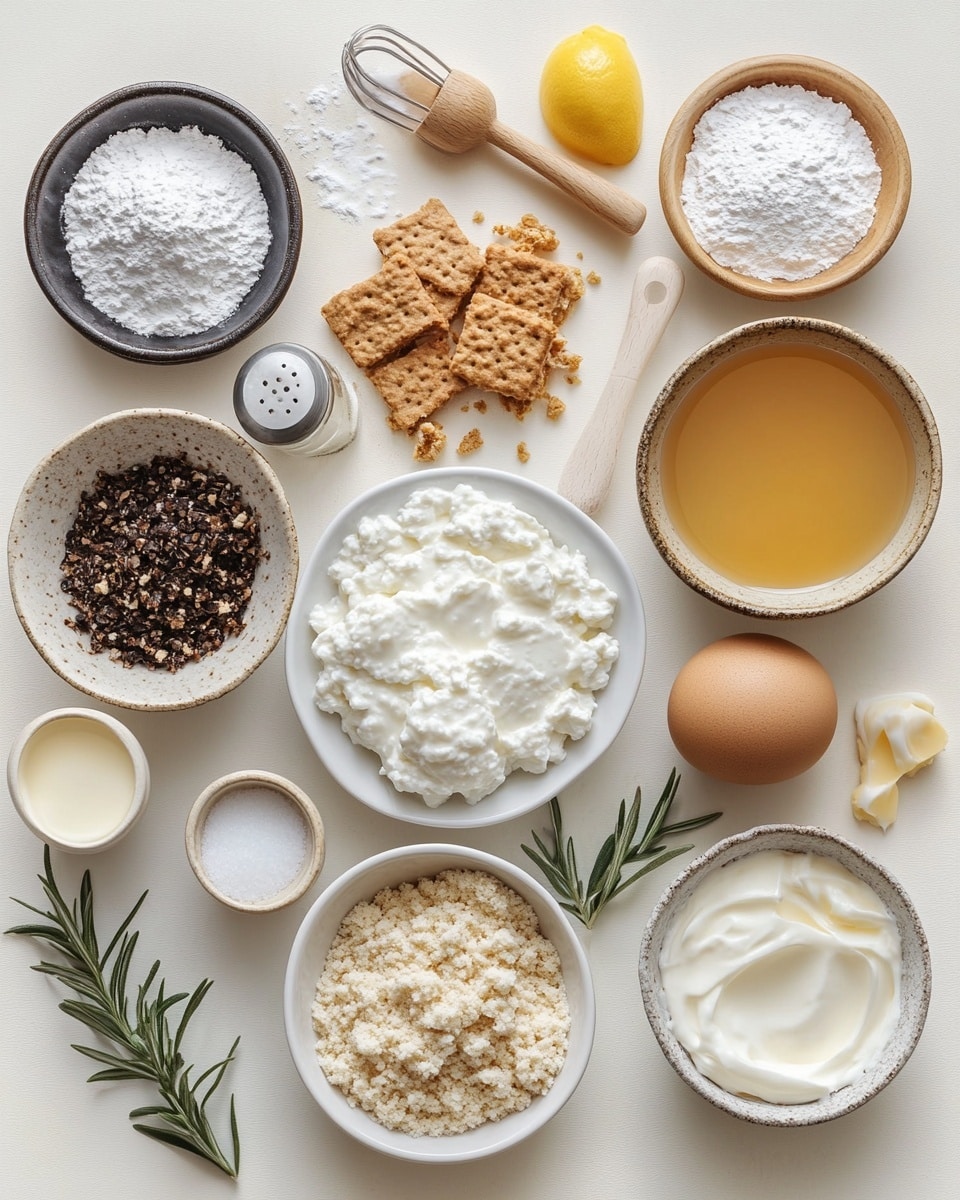
Ingredients You’ll Need
All the ingredients here work beautifully together, balancing sweetness, creaminess, and that little touch of tartness. When shopping, look for full-fat cottage cheese for the creamiest filling and fresh lemons for the zest—the freshness really shines through.
- Graham cracker crumbs (or plain cookie crumbs): I usually use graham crackers for a classic base, but plain cookies work just as well — just avoid anything too sweet or spiced.
- Sugar: Divided between crust and filling to control the sweetness; I sometimes reduce it slightly for a less sweet cheesecake.
- Unsalted butter: Melted to bind the crust crumbs into a firm base without overpowering flavors.
- Cottage cheese: Make sure it’s at room temperature to blend smoothly. If you want an extra silky filling, a quick pulse in the blender helps.
- Lemon zest: Adds a fresh, bright lift that complements the tang of the cottage cheese and yogurt.
- Greek yogurt: This creamy tangy ingredient pairs so nicely with the cheese and helps lighten the texture.
- Vanilla extract: A simple touch that deepens the flavors and makes the filling irresistible.
- Salt: Just a pinch to bring out all the flavors beautifully.
- Eggs: Use large eggs at room temperature — they help everything come together and set perfectly.
Variations
I love making this Cottage Cheese Cheesecake Recipe my own by swapping out a few ingredients or adding flavors. It’s super flexible, and honestly, I encourage you to play around with it.
- Berry Swirl: I gently swirl in pureed fresh berries before baking to add bursts of color and tartness — it’s a breakfast game-changer!
- Nut-Free Option: Swap the crust crumbs with gluten-free oats or nut-free cookies if allergies are a concern, and it still turns out fantastic.
- Honey Instead of Sugar: For a more natural sweetness, try replacing the sugar with honey, reducing the amount slightly since honey is sweeter.
- Spiced Crust: A pinch of cinnamon or cardamom in the crust crumbs adds a cozy warmth that’s lovely especially in colder months.
How to Make Cottage Cheese Cheesecake Recipe
Step 1: Prepare and Press the Crust
Start by mixing your graham cracker crumbs with sugar and melted butter until the mixture feels like damp sand. Press it firmly into the bottom of a springform pan — I find using the bottom of a measuring cup works wonders to get it nice and compact. Pop it in the fridge to set while you prepare the filling. This helps your crust stay crisp and gives you a firmer base when slicing.
Step 2: Blend the Cottage Cheese Filling
Place the room temperature cottage cheese in a food processor or blender and pulse until smooth — this step is key for that creamy, lump-free texture. Then add sugar, lemon zest, Greek yogurt, vanilla, salt, and eggs, one at a time, blending between each addition until smooth and well combined. Avoid over-mixing too much as you don’t want to incorporate excess air, which can cause cracks.
Step 3: Pour and Bake Gently
Pour the filling over the chilled crust, smoothing the top with a spatula. Bake at a moderate temperature — I usually do 325°F (160°C) — for about 50-60 minutes. You’re looking for a set but slightly wobbly center; that ensures the perfect creamy texture. Turn off the oven and leave the cheesecake inside with the door cracked for about 30 minutes to prevent sudden temperature changes that can cause cracking.
Step 4: Cool and Chill Thoroughly
Once cooled to room temperature, cover the cheesecake and refrigerate for at least 4 hours—overnight is best. This chilling step lets the flavors meld and the texture set just right. Trust me, the wait is worth it!
How to Serve Cottage Cheese Cheesecake Recipe
Garnishes
I love topping my cheesecake with fresh berries — blueberries and raspberries especially — for a pop of color and freshness. A light dusting of powdered sugar or a drizzle of honey adds just the right touch without overwhelming the delicate flavors. If I’m feeling fancy, a few mint leaves always impress guests.
Side Dishes
This cheesecake pairs beautifully with a cup of strong coffee or a lightly brewed tea to balance its sweetness. For brunch, I sometimes serve it alongside fresh fruit salad or a citrusy sorbet for a refreshing contrast. It’s surprisingly versatile depending on the occasion!
Creative Ways to Present
For a birthday or special celebration, I like to slice the cheesecake into petite squares, then top each with a dollop of whipped cream and edible flowers — it’s simple but makes for an elegant presentation. If you’re packing it for a picnic, individual mason jar servings with layers of cheesecake and berry compote get rave reviews.
Make Ahead and Storage
Storing Leftovers
I wrap leftover cheesecake tightly with plastic wrap and store it in the fridge for up to 4 days — it’s amazing how well it keeps its texture and flavor. Just be sure to keep it chilled until serving again for the best taste.
Freezing
Freezing this Cottage Cheese Cheesecake Recipe works well if you cut it into slices first. Wrap each slice tightly in plastic wrap and place in an airtight container or freezer bag. When I’ve done this, I get best results thawing overnight in the fridge to keep the texture creamy and smooth.
Reheating
Honestly, I usually serve this cheesecake cold, but if you want it a bit less chilled, letting it sit at room temperature for 15-20 minutes before eating softens it nicely without losing that creamy texture. Avoid microwaving because it can change the texture and cause it to separate.
FAQs
-
Can I use low-fat cottage cheese in this Cottage Cheese Cheesecake Recipe?
You can, but keep in mind the cheesecake might be less creamy and slightly more watery. I recommend full-fat cottage cheese for the best texture and richness. If you do use low-fat, make sure to drain any excess liquid before blending to avoid a soggy filling.
-
How do I prevent cracks in my cottage cheese cheesecake?
Cracks usually come from overbaking or rapid temperature changes. Bake the cheesecake gently at a moderate temperature and cool it gradually by keeping the oven door slightly open after baking. Also, avoid overmixing the batter to reduce air bubbles that can cause cracks.
-
Can I make this Cottage Cheese Cheesecake Recipe ahead of time?
Absolutely! It actually tastes better after chilling overnight as the flavors meld and the texture firms up perfectly. Just make sure to cover it tightly to prevent it from absorbing fridge odors.
-
Do I need a springform pan to make this cheesecake?
A springform pan is ideal because it allows you to remove the cheesecake without damaging the crust or sides. If you don’t have one, you can line a regular cake pan with parchment paper for easier removal, but the texture of the crust might be a bit more delicate.
-
Can I add fruit inside the filling?
Yes! Adding a swirl of pureed berries or folding in chopped fruit can add a delightful twist. Just be mindful not to add too much moisture, which can affect the cheesecake’s texture.
Final Thoughts
This Cottage Cheese Cheesecake Recipe has truly become one of my go-to desserts when I want something that tastes indulgent but feels a little bit lighter. It’s forgiving, versatile, and always a crowd-pleaser — whether you’re making it for a special occasion or just a cozy night in. Give it a try; I’m pretty sure it’ll bring a little extra joy to your table just like it did to mine.
Print
Cottage Cheese Cheesecake Recipe
- Prep Time: 20 minutes
- Cook Time: 55 minutes
- Total Time: 4 hours 15 minutes
- Yield: 8 servings 1x
- Category: Dessert
- Method: Baking
- Cuisine: American
- Diet: Low Fat
Description
This Cottage Cheese Cheesecake combines creamy cottage cheese with a graham cracker crust to create a lighter, tangy dessert perfect for any occasion. The filling is smooth and rich, enhanced with lemon zest and Greek yogurt for extra moisture and flavor. Easy to prepare with simple ingredients, it’s a delightful twist on traditional cheesecake.
Ingredients
Crust
- 1 1/2 cups graham cracker crumbs or any plain cookie crumbs of choice
- 1/4 cup sugar
- 5 tablespoons unsalted butter, melted
Filling
- 3 cups cottage cheese, room temperature
- 1 cup sugar
- 1 tablespoon lemon zest
- 1/2 cup Greek yogurt
- 2 teaspoons vanilla extract
- 1/4 teaspoon salt
- 4 large eggs, room temperature
Instructions
- Prepare the crust: Preheat your oven to 325°F (163°C). In a medium bowl, mix the graham cracker crumbs, sugar, and melted butter until fully combined and crumbly. Press the mixture evenly into the bottom of a 9-inch springform pan to form the crust.
- Make the filling: In a food processor or blender, combine the cottage cheese, sugar, lemon zest, Greek yogurt, vanilla extract, and salt. Blend until smooth and creamy, ensuring there are no lumps.
- Add eggs: One at a time, add the eggs to the blended mixture, pulsing after each addition just until combined. Do not overmix to prevent too much air incorporation.
- Fill the crust: Pour the prepared filling over the crust in the springform pan, smoothing the top with a spatula.
- Bake the cheesecake: Place the pan in the preheated oven and bake for 50 to 60 minutes, or until the edges are set and the center slightly jiggles when shaken.
- Cool and chill: Remove the cheesecake from the oven and allow it to cool completely at room temperature. Then refrigerate for at least 4 hours or preferably overnight to fully set before serving.
- Serve: Carefully remove the springform pan sides. Slice the cheesecake with a warm blade for clean cuts and serve chilled. Optionally, garnish with fresh fruit or a dusting of powdered sugar.
Notes
- For a less sweet crust and filling, reduce the sugar by up to half, especially if using sweeter cookie crumbs.
- Room temperature ingredients help achieve a smooth, uniform filling texture and prevent cracking.
- Using a food processor yields a creamier filling from the cottage cheese compared to mixing by hand.
- Ensure not to overbake to keep the cheesecake creamy; it will firm up as it chills.
- This cheesecake can be stored covered in the refrigerator for up to 4 days.
Keywords: cottage cheese cheesecake, light cheesecake, graham cracker crust, creamy dessert, easy cheesecake recipe