Chocolate Hazelnut Thumbprint Cookies Recipe
I’m so excited to share this Chocolate Hazelnut Thumbprint Cookies Recipe with you because it’s one of those treats that just feel like a warm hug in dessert form. These cookies are perfectly buttery with a gentle cocoa kiss, and the toasted hazelnuts add a wonderful crunch that pairs beautifully with the silky chocolate hazelnut spread nestled right in the center. Trust me, once you try them, they’ll become your go-to for holiday gatherings, cozy coffee mornings, or whenever you want a little sweet indulgence.
What makes this Chocolate Hazelnut Thumbprint Cookies Recipe stand out is how approachable it is, yet the end result feels fancy enough to impress anyone. I’ve made them countless times for family and friends, and the best part is how versatile the recipe is—you can easily switch up the fillings or add your signature touch. Plus, who doesn’t love an easy recipe that fills your kitchen with that irresistible aroma of toasted nuts and cocoa?
Ingredients You’ll Need
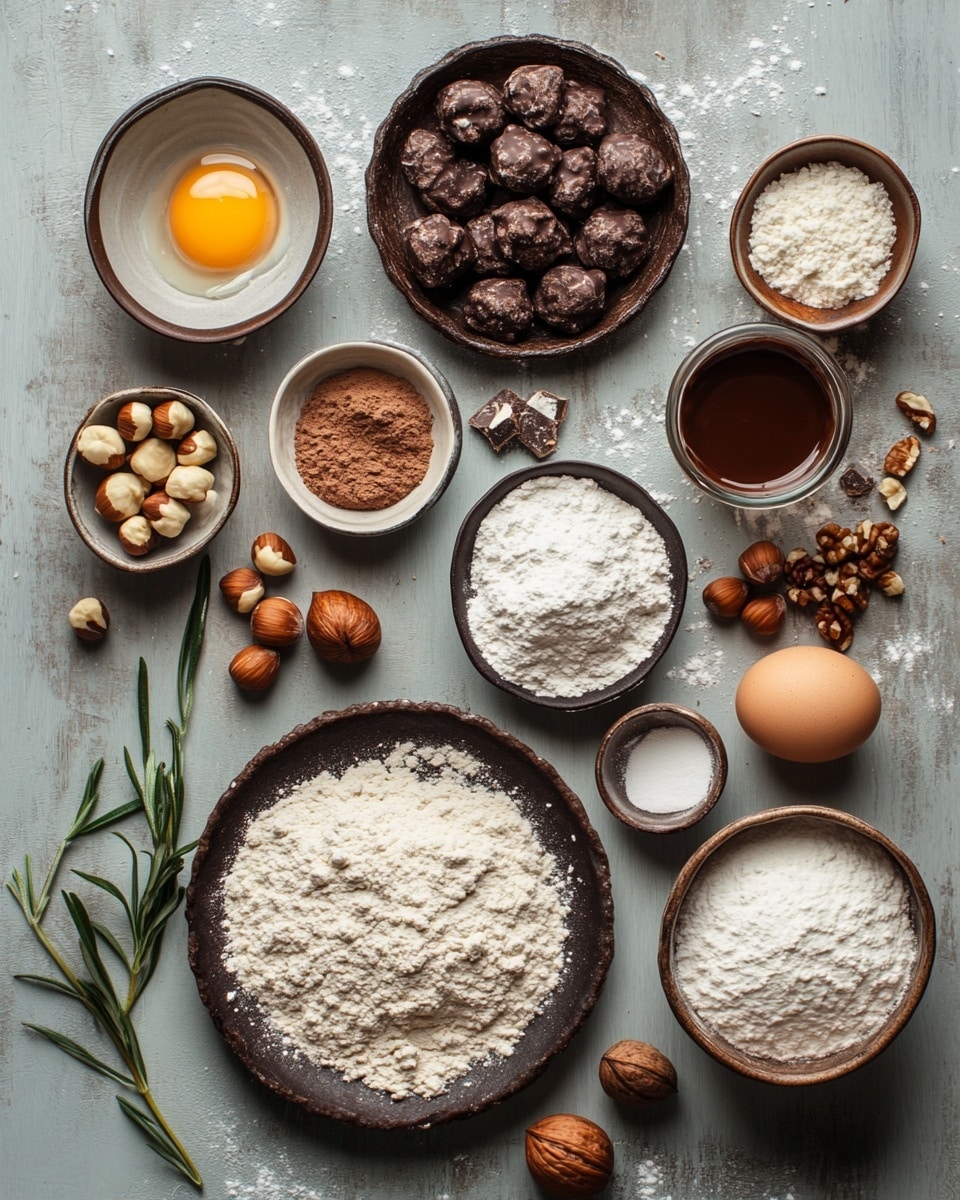
This recipe is built on a simple harmony of flavors where each ingredient carries its weight in making the cookies rich, tender, and delicious. A few quality tips here: toast those hazelnuts just right to unlock their flavors and choose a chocolate hazelnut spread you love, because it truly makes a difference.
- All-purpose flour: The backbone for structure; makes for the perfect cookie texture without being too tough.
- Dutch processed cocoa powder: Adds a deep chocolate flavor and intensifies the taste beautifully.
- Salt: Just a pinch to balance the sweetness and enhance the cocoa.
- Unsalted butter: I always go for high-quality butter at room temperature to get that rich buttery flavor and smooth dough.
- Egg yolk: This helps bind the dough while adding richness—don’t skip it!
- Milk: A little splash softens the dough and makes it easier to work with.
- Powdered sugar: I prefer powdered sugar here because it dissolves quickly, making the dough silky smooth.
- Vanilla extract: For that warm, aromatic depth that lifts all the flavors.
- Finely chopped toasted hazelnuts: Toasting them brings out their crunch and nutty aroma—definitely worth the extra step.
- Chocolate hazelnut spread: Don’t hold back here—this is the dreamy filling that everyone raves about.
Variations
I love how easy it is to put your own twist on the Chocolate Hazelnut Thumbprint Cookies Recipe. Whether you want to swap out fillings or tailor it for different dietary needs, the recipe welcomes creativity. It’s always fun to experiment with flavors and textures to discover what suits your taste or the season.
- Nut-free version: I’ve replaced hazelnuts with finely chopped seeds like pumpkin or sunflower for friends with nut allergies, and they still got rave reviews!
- Different fillings: Jam, salted caramel, or peanut butter work wonderfully. One time, I tried raspberry jam, and the tartness paired really well with the cocoa dough.
- Gluten-free adaptation: Using a 1:1 gluten-free flour blend works great. Just make sure it includes xanthan gum or add a bit for texture.
- Double chocolate lovers: Mix in mini chocolate chips around the dough for little bursts of melted chocolate in every bite.
How to Make Chocolate Hazelnut Thumbprint Cookies Recipe
Step 1: Toast and Prep
Start by gently toasting your hazelnuts in a dry pan over medium heat, shaking frequently until they’re fragrant and a shade darker—this usually takes about 5-7 minutes. Let them cool before finely chopping; the toasting really amps up that nutty flavor that makes these cookies unforgettable.
Step 2: Make the Dough
In a bowl, sift together your all-purpose flour, cocoa powder, and salt. In a separate large mixing bowl, beat the room-temperature unsalted butter until creamy, then add powdered sugar and continue beating until light and fluffy. Add the egg yolk, vanilla extract, and milk, mixing until it’s all incorporated. Slowly combine the dry ingredients into the wet mix and fold in the chopped hazelnuts at the end. The dough should come together easily but be firm enough to shape.
Step 3: Shape and Fill
Preheat your oven to 350°F (175°C) and line a baking sheet with parchment paper. Roll the dough into 1-inch balls and place them evenly spaced on the tray. Using your thumb or the back of a small wooden spoon, gently press each ball in the center to create a well—this is where your chocolate hazelnut spread will go. Don’t press too hard or the cookie may crack while baking.
Step 4: Bake and Fill
Bake the cookies for 12-14 minutes until the edges are set but the centers still look slightly soft (they firm up as they cool). Once out of the oven and cooled just a bit, spoon a small dollop of chocolate hazelnut spread into each thumbprint. If you try filling before baking, the spread can spread out too much, so I always fill after baking for the neatest results.
How to Serve Chocolate Hazelnut Thumbprint Cookies Recipe
Garnishes
I like to sprinkle a few extra toasted hazelnut pieces over the chocolate spread once it’s set—it adds a lovely crunch and looks so inviting. Sometimes, I lightly dust the cookies with powdered sugar for a festive touch that really pops on holiday tables.
Side Dishes
Pair these thumbprint cookies with a steaming cup of espresso or a creamy latte. I’ve also enjoyed them alongside fresh berries or a scoop of vanilla ice cream for an elevated dessert experience that guests always appreciate.
Creative Ways to Present
For special occasions, I like to arrange these cookies on a tiered serving tray, alternating with small bowls of hazelnuts and chocolates for extra eye candy. Gift-wise, they’re adorable wrapped in festive cellophane with a ribbon—makes a perfect homemade present for friends and family.
Make Ahead and Storage
Storing Leftovers
I always store leftover cookies in an airtight container at room temperature, layering them between sheets of parchment paper to prevent sticking. They stay fresh for about 4-5 days this way without losing that tender bite or tasty filling.
Freezing
If I want to keep them longer, I freeze the baked cookies (without filling) in a single layer on a baking sheet, then transfer them to a freezer-safe bag after they’re solid. When ready to eat, I thaw at room temperature and add the chocolate hazelnut spread fresh so it doesn’t get too hard or separated.
Reheating
To bring chilled or older cookies back to life, I pop them in a warm (not hot) oven at 300°F for just 5 minutes to refresh that buttery softness. Just be sure to add the chocolate filling after warming if you stored it separately!
FAQs
-
Can I use other nuts besides hazelnuts in this recipe?
Absolutely! While hazelnuts provide a classic flavor, you can swap them with almonds, pecans, or walnuts. Just be sure to toast them similarly to bring out the best flavor and texture.
-
Is it okay to fill the cookies with chocolate hazelnut spread before baking?
It’s best to add the chocolate hazelnut spread after baking. Filling beforehand may cause the spread to melt and lose its shape, making the cookies messier.
-
How do I prevent the cookies from cracking during baking?
Press gently to make the thumbprint indentation without cracking the sides. Also, chilling the dough before baking can help minimize spreading and cracking.
-
Can I make this recipe vegan?
You can swap butter with a vegan alternative and use a flax egg instead of the egg yolk. Just keep in mind the texture might be slightly different but still delicious!
-
How long do these cookies stay fresh?
Stored in an airtight container, these cookies stay fresh for up to five days at room temperature. For longer storage, freezing is your best friend.
Final Thoughts
Honestly, this Chocolate Hazelnut Thumbprint Cookies Recipe holds a special place in my baking repertoire. There’s something so satisfying about the combination of tender cocoa dough, toasted nuts, and that luscious chocolate hazelnut filling. I hope you give these a try and find as much joy in making them as I do—whether you’re baking for loved ones or just treating yourself, they’re sure to hit the sweet spot every time!
Print
Chocolate Hazelnut Thumbprint Cookies Recipe
- Prep Time: 20 minutes
- Cook Time: 15 minutes
- Total Time: 35 minutes
- Yield: 24 cookies 1x
- Category: Dessert
- Method: Baking
- Cuisine: European
- Diet: Vegetarian
Description
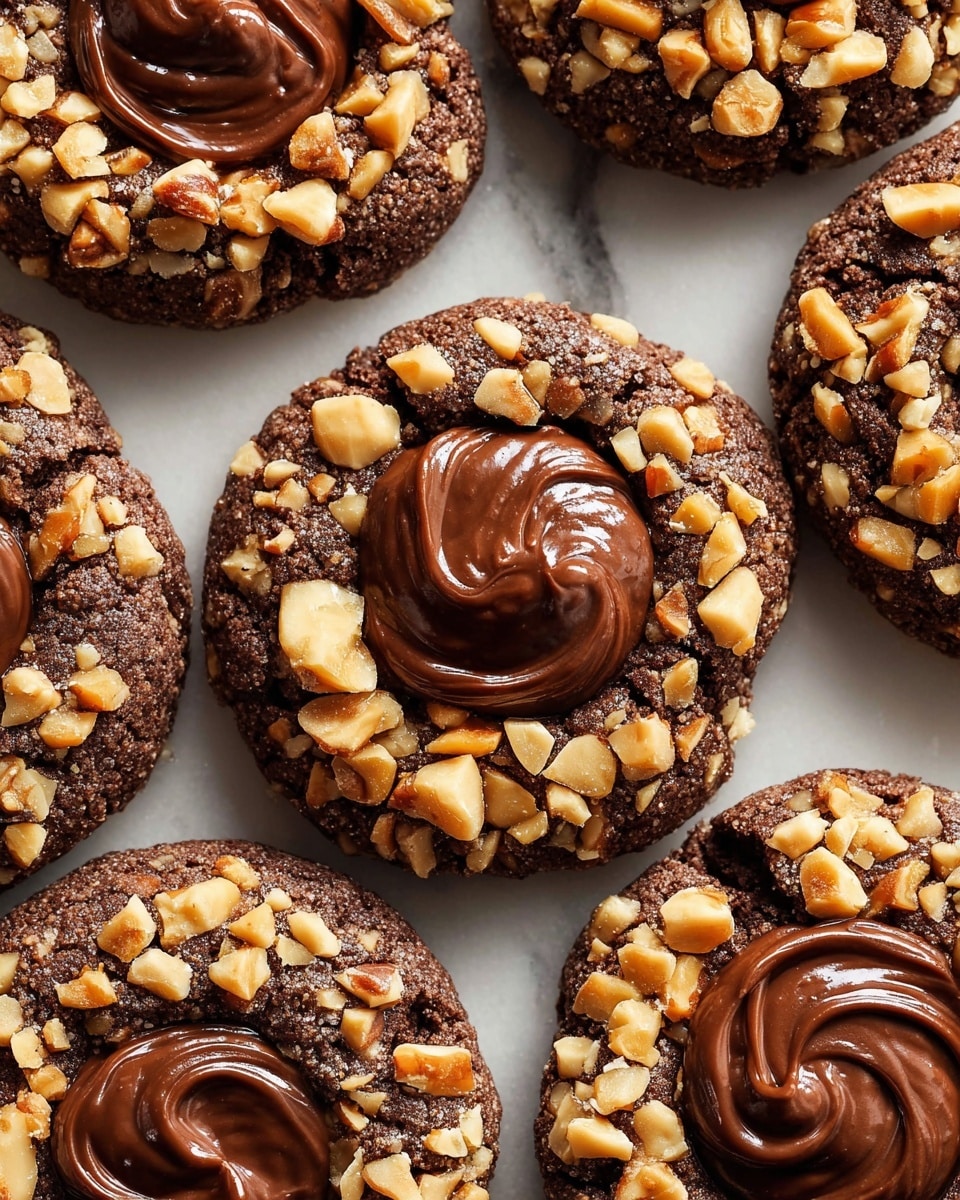
Chocolate Hazelnut Thumbprint Cookies are rich, buttery cookies infused with cocoa and studded with chopped toasted hazelnuts. Each cookie is perfectly shaped with a thumbprint indentation filled with creamy chocolate hazelnut spread, offering a delicious combination of crunchy texture and smooth, chocolaty sweetness. These cookies are ideal for festive occasions or everyday indulgence.
Ingredients
Dry Ingredients
- 200 g all-purpose flour
- 30 g Dutch processed cocoa powder
- 1/4 tsp salt
Wet Ingredients
- 250 g unsalted butter, softened
- 1 egg yolk
- 40 g milk
- 2 tsp vanilla extract
Sweeteners and Flavorings
- 115 g powdered sugar
Add-ins
- 125 g finely chopped toasted hazelnuts
- 100 g chocolate hazelnut spread
Instructions
- Preheat oven and prepare baking sheet: Preheat your oven to 175°C (350°F) and line a baking sheet with parchment paper to prevent sticking and ensure even baking.
- Mix dry ingredients: In a medium bowl, sift together the all-purpose flour, Dutch processed cocoa powder, and salt to ensure even distribution of the cocoa and salt.
- Cream butter and sugar: In a large bowl, beat the softened unsalted butter with the powdered sugar until the mixture is light, fluffy, and pale in color, which typically takes about 3-5 minutes.
- Add wet ingredients: Mix in the egg yolk, milk, and vanilla extract to the creamed butter and sugar until fully combined and smooth.
- Combine wet and dry ingredients: Gradually add the dry flour mixture into the wet ingredients, mixing gently until a soft dough forms. Avoid overmixing to keep the cookies tender.
- Add hazelnuts: Fold in the finely chopped toasted hazelnuts evenly throughout the dough for a crunchy texture.
- Shape cookies: Using your hands or a tablespoon, scoop dough balls about 1 inch in diameter and place them spaced apart on the prepared baking sheet. Press your thumb or the back of a spoon gently into the center of each ball to create a thumbprint indentation.
- Bake cookies: Bake the cookies in the preheated oven for 12-15 minutes until set but not overbaked. They should remain slightly soft in the center.
- Fill thumbprints: Remove the cookies from the oven and allow them to cool on the baking sheet for 5 minutes. While still warm, fill each indentation with a small spoonful of chocolate hazelnut spread.
- Cool completely: Transfer the cookies to a wire rack to cool completely so the chocolate spread sets, ensuring the perfect creamy filling experience with each bite.
Notes
- To toast hazelnuts, spread them on a baking sheet and roast at 175°C (350°F) for 10 minutes or until they turn golden brown and aromatic. Let cool before chopping.
- You can substitute chocolate hazelnut spread with melted chocolate or any nut butter if preferred.
- Store cookies in an airtight container at room temperature for up to one week.
- For a firmer cookie, chill the dough for 30 minutes before shaping.
Keywords: Chocolate Cookies, Hazelnut Cookies, Thumbprint Cookies, Chocolate Hazelnut Spread, Dessert Cookies, Holiday Cookies