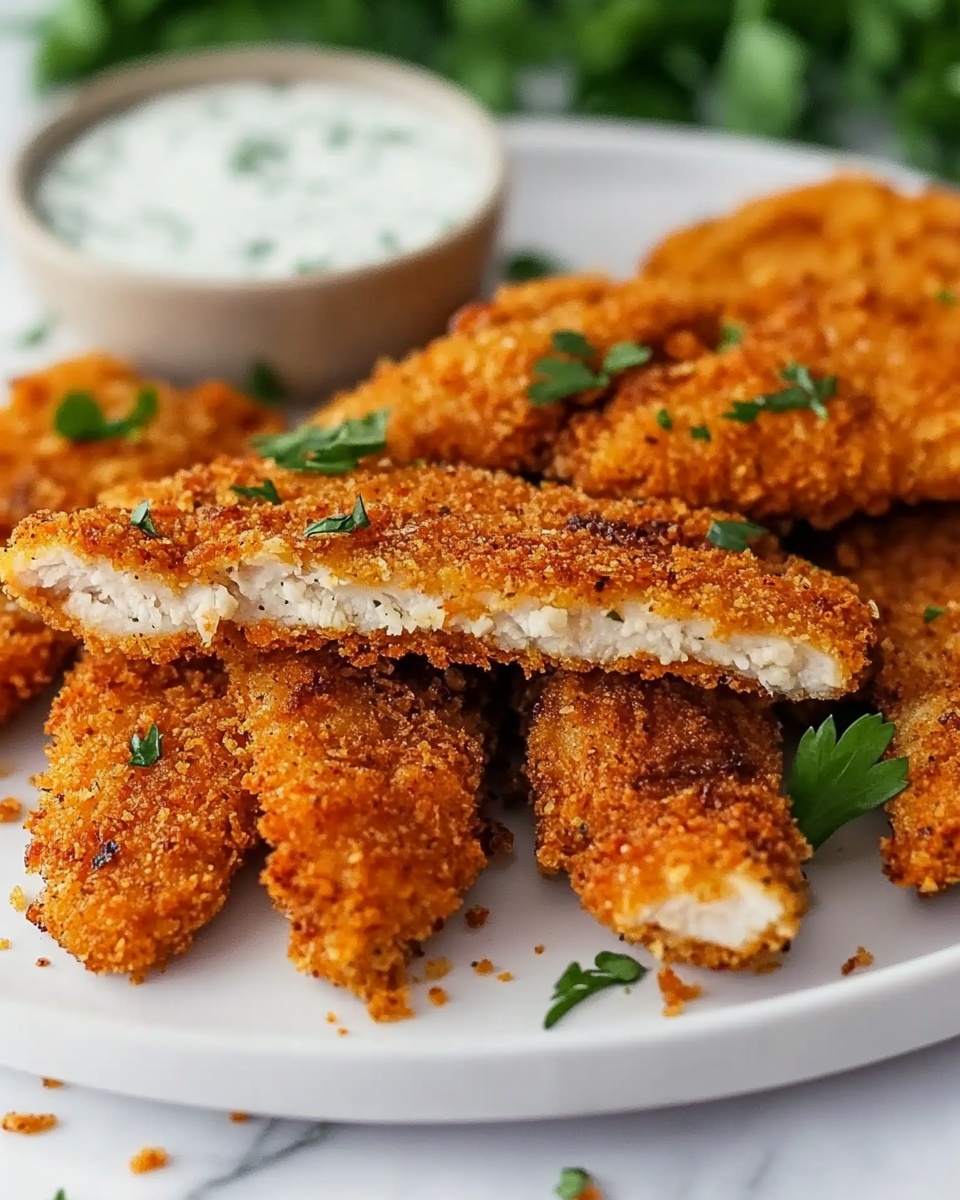
Crispy Baked Chicken Tenders Recipe
Oh, you’re going to love this Crispy Baked Chicken Tenders Recipe! It’s that perfect combo of crunchy on the outside and juicy on the inside, all without the hassle of deep frying. I’ve made this time and again when I want a foolproof, healthier take on everyone’s favorite comfort food – whether it’s a busy weeknight dinner or a casual weekend treat.
What makes this recipe stand out for me is how simple it is to get that golden crispiness using the oven – no greasy mess, and it’s ready in about 30 minutes. Plus, you can easily adjust the seasoning to suit your taste buds, making it a winner for kids and adults alike.
Ingredients You’ll Need
These ingredients come together wonderfully to create that irresistible crispy coating while keeping the chicken tender and flavorful. When shopping, try to get fresh chicken tenders or breasts and good-quality panko breadcrumbs for that extra crunch.
- Chicken breasts or chicken tenders: Fresh chicken works best; if using breasts, slice them evenly into strips for consistent cooking.
- Eggs: These act as the glue to help the coating stick perfectly to the chicken.
- Panko breadcrumbs: I prefer panko for ultimate crispiness, but regular breadcrumbs work if that’s what you have.
- Parmesan cheese: Optional, but adding this gives a lovely nutty depth – I always include it!
- Garlic powder: Adds subtle savory notes enhancing the overall flavor profile.
- Paprika: For a gentle smoky sweetness and beautiful color.
- Onion powder: Brings a slight pungent kick without overpowering.
- Salt: Essential for seasoning throughout, don’t skimp.
- Black pepper: Freshly ground gives the best aromatic pop.
- Olive oil spray: Helps the coating crisp up without soaking the tenders.
Variations
I love playing around with this recipe depending on what I have in the kitchen or who I’m cooking for. Feel free to tweak the spices to suit your cravings; that’s part of the fun! You can easily make it your own.
- Spicy kick: Add some cayenne pepper or chili powder for a little heat – I occasionally do this when I want some extra zing.
- Herb twist: Toss in dried oregano or thyme into the breadcrumb mix for a fresh, aromatic touch.
- Gluten-free option: Swap panko for crushed gluten-free crackers or almond flour. I tried this for a friend and it worked great!
- Cheese variations: Swap Parmesan with Pecorino Romano or nutritional yeast for a different flavor profile.
- Double coating: For ultra-crispy tenders, dip them back into the egg and breadcrumbs once more before baking.
How to Make Crispy Baked Chicken Tenders Recipe
Step 1: Prep Your Chicken Strips
Start by trimming any excess fat from the chicken breasts, then slice them into uniform strips if you’re not using pre-cut tenders. This helps them cook evenly, keeping that perfect juicy interior. Pat the strips dry with paper towels – moisture is the enemy of crispiness, and trust me, this step makes a difference.
Step 2: Mix Your Coating
In a shallow bowl, whisk your eggs until smooth. In another bowl, combine the panko breadcrumbs, Parmesan cheese if using, and all the seasonings—garlic powder, paprika, onion powder, salt, and pepper. Give it a good mix so the flavors distribute evenly. I usually sprinkle a bit in advance, just to get an idea of how flavorful it will be before coating.
Step 3: Coat and Arrange
Dip each chicken strip first into the egg, letting any excess drip off, then dredge through the breadcrumb mixture, pressing gently to help it stick. Place the coated tenders on a baking sheet lined with parchment or a lightly greased rack. I find lining up the tenders with space in between is key – that way, heat circulates better, making everything crispier.
Step 4: Spray and Bake
Give the coated tenders a light spray of olive oil – this is the magic touch that helps them brown beautifully without deep frying. Pop the tray in a 400°F (200°C) preheated oven and bake for about 15-20 minutes, flipping halfway. Keep an eye near the end; you want that golden brown color and an internal temp of 165°F (74°C) for safe, juicy chicken.
How to Serve Crispy Baked Chicken Tenders Recipe
Garnishes
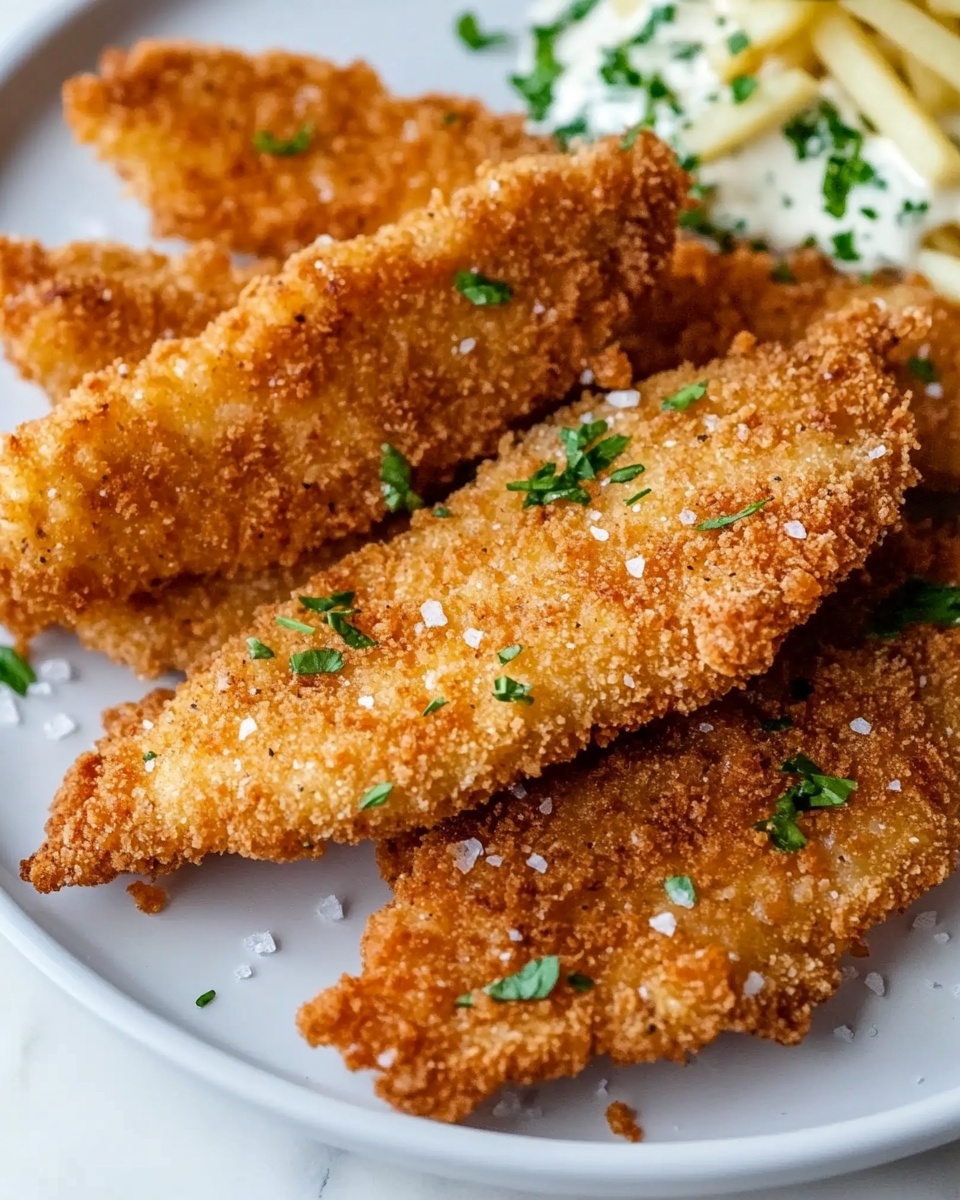
I usually sprinkle fresh chopped parsley or chives over the tenders right after baking – it brightens the dish and adds a splash of color. A little squeeze of lemon juice over the top also adds a lovely zing that complements the crispy coating perfectly.
Side Dishes
Some of my favorite sides to pair with these chicken tenders are crispy sweet potato fries, a fresh green salad with vinaigrette, or steamed veggies like broccoli or green beans. If you’re in a cozy mood, creamy mashed potatoes also work wonderfully.
Creative Ways to Present
For gatherings, I like serving the tenders on a platter with small bowls of different dipping sauces—think honey mustard, spicy sriracha mayo, or classic ranch. Sometimes I arrange them like little “fingers” for a party platter, which always gets compliments and disappears fast!
Make Ahead and Storage
Storing Leftovers
I store leftover chicken tenders in an airtight container in the fridge—they usually keep well for up to 3 days. To keep them from getting soggy, I place a paper towel at the bottom of the container to absorb any moisture.
Freezing
This Crispy Baked Chicken Tenders Recipe freezes beautifully! I flash-freeze the raw coated tenders on a baking sheet, then transfer them into a freezer-safe bag. When I want a quick meal later, I just bake them straight from frozen, adding a few extra minutes to the bake time.
Reheating
To bring back the crispiness when reheating, I pop leftovers in a hot oven (around 375°F) for 8-10 minutes instead of microwaving. That way, the coating stays crunchy and the chicken doesn’t dry out – trust me, this makes a huge difference!
FAQs
-
Can I use frozen chicken tenders for this Crispy Baked Chicken Tenders Recipe?
Yes! If using frozen chicken, make sure to fully thaw and pat dry the tenders before coating and baking. Excess moisture will prevent the coating from sticking properly and crisping up nicely.
-
How do I make this recipe gluten-free?
Simply swap out the panko breadcrumbs for gluten-free alternatives like crushed gluten-free crackers, cornflakes, or almond flour. The rest of the recipe stays the same and it still yields deliciously crispy tenders.
-
Can I make these tenders spicy?
Absolutely! Add cayenne pepper, red pepper flakes, or hot smoked paprika to the breadcrumb mixture to give your tenders a spicy kick. I do this whenever I’m craving a bit more heat, and it’s always a hit.
-
What dipping sauces go best with crispy baked chicken tenders?
Classic choices include honey mustard, ranch, BBQ sauce, or even spicy sriracha mayo. I like offering a few options so everyone can pick their favorite!
-
Can I bake these tenders without flipping?
While you can bake without flipping, I recommend flipping halfway through for the most even browning and crispiness. It only takes a minute but makes a noticeable difference.
Final Thoughts
Honestly, this Crispy Baked Chicken Tenders Recipe has become a staple in my kitchen because it’s so dependable and delicious every single time. If you’re looking for a comforting dish that’s easy to make and satisfies a crowd, this recipe should be your go-to. I can’t wait for you to try it—you’ll enjoy how simple it is to get “fried” flavor with none of the guilt!
Print
Crispy Baked Chicken Tenders Recipe
- Prep Time: 10 minutes
- Cook Time: 20 minutes
- Total Time: 30 minutes
- Yield: 4 servings 1x
- Category: Main Course
- Method: Baking
- Cuisine: American
- Diet: Low Fat
Description
These Crispy Baked Chicken Tenders are a healthier alternative to fried chicken, featuring juicy chicken strips coated with a flavorful breadcrumb and Parmesan crust. Perfectly seasoned and baked to golden perfection, they offer a satisfying crunch without the extra oil.
Ingredients
Chicken
- 1 lb chicken breasts or chicken tenders, cut into strips
Egg Wash
- 2 large eggs, beaten
Breading
- 1 cup panko breadcrumbs or regular breadcrumbs
- ½ cup grated Parmesan cheese (optional for extra flavor)
- 1 tsp garlic powder
- 1 tsp paprika
- ½ tsp onion powder
- ½ tsp salt
- ¼ tsp black pepper
Finishing
- Olive oil spray for coating
Instructions
- Preheat Oven: Preheat your oven to 425°F (220°C) to prepare for baking the chicken tenders to a crispy finish.
- Prepare Breading Mixture: In a shallow bowl, combine the panko breadcrumbs, grated Parmesan cheese (if using), garlic powder, paprika, onion powder, salt, and black pepper. Mix thoroughly to distribute the seasoning evenly.
- Set Up Egg Wash: In a separate bowl, beat the eggs until smooth. This will help the breadcrumb mixture stick to the chicken strips.
- Coat Chicken Strips: Dip each chicken strip into the beaten eggs, allowing excess to drip off, then dredge thoroughly in the breadcrumb mixture, pressing gently to adhere the coating well.
- Arrange on Baking Sheet: Place the coated chicken tenders on a baking sheet lined with parchment paper or a lightly greased wire rack set over a baking tray. This arrangement helps air circulate for even crisping.
- Apply Olive Oil Spray: Lightly spray the tops of the coated chicken tenders with olive oil spray to promote browning and crispiness as they bake.
- Bake: Bake in the preheated oven for 15-20 minutes, flipping once halfway through, until the chicken is cooked through and the coating is golden brown and crispy. The internal temperature should reach 165°F (74°C).
- Serve: Remove from oven and let the chicken tenders rest for a few minutes before serving. Enjoy them warm with your favorite dipping sauces.
Notes
- For extra crispiness, use panko breadcrumbs over regular breadcrumbs.
- If you don’t have olive oil spray, lightly brush the tenders with olive oil instead.
- To make this recipe gluten-free, substitute the breadcrumbs with gluten-free breadcrumbs.
- Chicken tenders can be made ahead and refrigerated for up to 24 hours before baking.
- Adjust seasonings to taste if you prefer more or less spice.
Keywords: baked chicken tenders, crispy chicken strips, healthy chicken tenders, oven-baked chicken, chicken strips recipe